Are you tired of dealing with the frustration of Google Chrome constantly crashing and not working correctly? Don’t worry, because, in this article, we have compiled a list of the 8 best fixes to help you resolve this annoying issue. By following these steps, you’ll be able to get your Chrome browser back up and running smoothly in no time.
First and foremost, it’s essential to understand why your Google Chrome keeps crashing in the first place. Several reasons exist, including outdated software, conflicting extensions or plugins, accumulated browsing data and cache, and malware or viruses. But fret not, as we have solutions for each of these problems.
Also Read: 18 Best Voice Changing Software for Discord Mac or Pc
We’ve covered you, from updating Chrome to the latest version, disabling extensions and plugins, clearing browsing data, and resetting Chrome settings to default. Additionally, we’ll guide you on how to disable hardware acceleration, check for malware or viruses, repair corrupted system files, and even reinstall Chrome if necessary.
So, without further ado, let’s dive into these eight best fixes to get your Google Chrome back on track!
Why Does My Google Chrome Keep Crashing?
If your Google Chrome keeps crashing, it’s like being stuck in a never-ending loop of frustration and disappointment. You open the browser with high hopes, but within minutes, it crashes unexpectedly, leaving you to start over again. It disrupts your workflow, interrupts your online activities, and tests your patience.
But why does this keep happening? There could be several reasons behind the constant crashes of your Google Chrome. It could be due to outdated browser versions, incompatible extensions or plugins, corrupt user profiles, or even malware infections. Whatever the cause may be, the important thing is to find a solution and get your browser back on track.
One effective way to tackle this issue is to update Chrome to the latest version. Doing so ensures your browser has the most recent bug fixes, security patches, and performance improvements.
So, let’s explore how you can update Chrome and bid farewell to these frustrating crashes.
Update Chrome to the Latest Version
Ensure you’re using the most up-to-date version of Chrome to avoid any potential glitches or bugs. Updating Chrome to the latest version is essential for a seamless browsing experience.
By keeping your browser up to date, you get access to new features and benefit from bug fixes and security patches. Chrome updates are typically automatic, but it’s a good practice to check for updates occasionally manually.
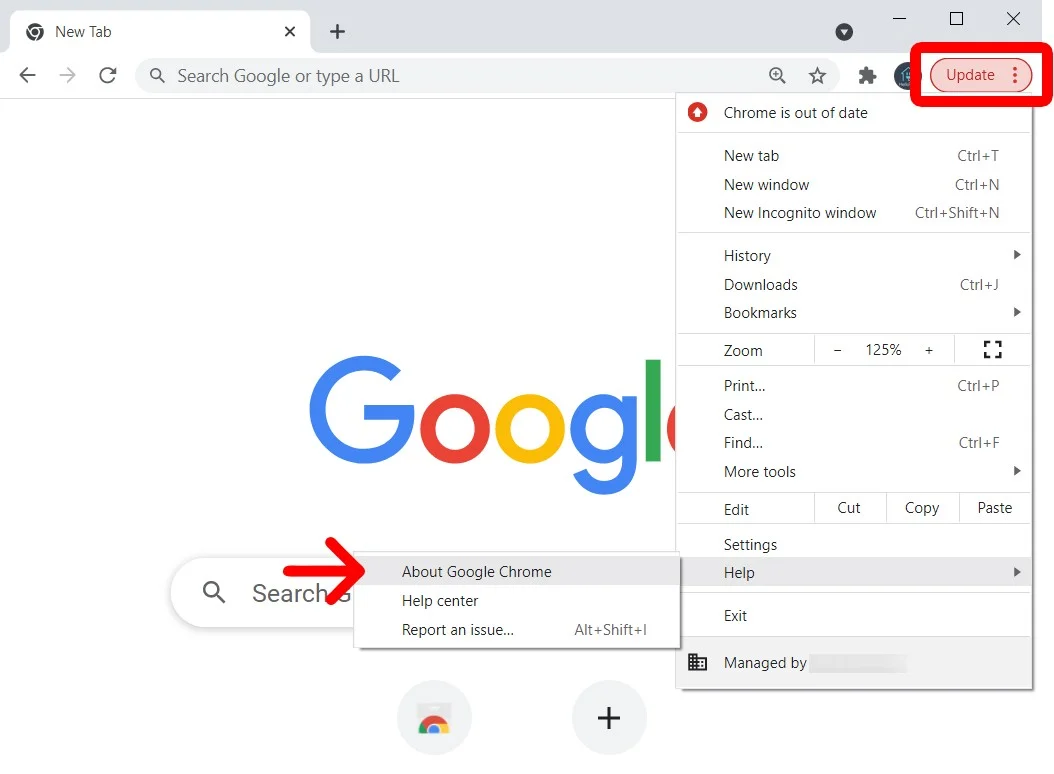
Simply click on the three-dot menu icon in the top right corner of Chrome, go to Help, and then select About Google Chrome. If there’s an update available, Chrome will automatically start downloading and installing it.
By staying updated, you can ensure your Chrome browser runs smoothly and efficiently, minimizing the chances of crashes or other issues.
Now that you’ve updated Chrome to the latest version let’s move on to the next step: disabling extensions and plugins.
Disable Extensions and Plugins
To optimize your browsing experience and prevent any potential slowdowns, take a moment to disable any unnecessary extensions or plugins. These add-ons can sometimes conflict with Chrome’s functionality, leading to crashes or unresponsiveness.
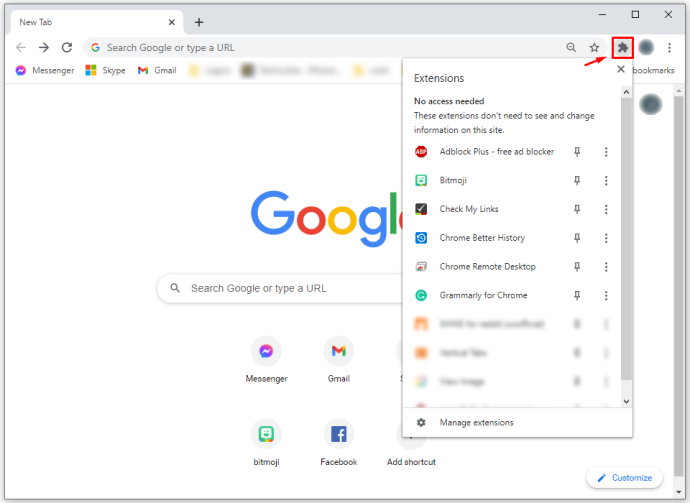
To disable extensions, click on the three-dot menu in the top-right corner of your browser, hover over ‘More tools’, and select ‘Extensions’. From there, you can toggle off any extensions you don’t need, or suspect may be causing issues.
Similarly, to disable plugins, type ‘chrome://plugins’ in your address bar and hit enter. Locate any enabled plugins and click the ‘Disable’ button next to them. Doing this will allow you to troubleshoot Chrome’s crashing or not working issues more effectively.
Now that you have disabled unnecessary extensions and plugins let’s move on to clearing your browsing data and cache. This will help you resolve any conflicts or corrupt files contributing to Chrome’s instability.
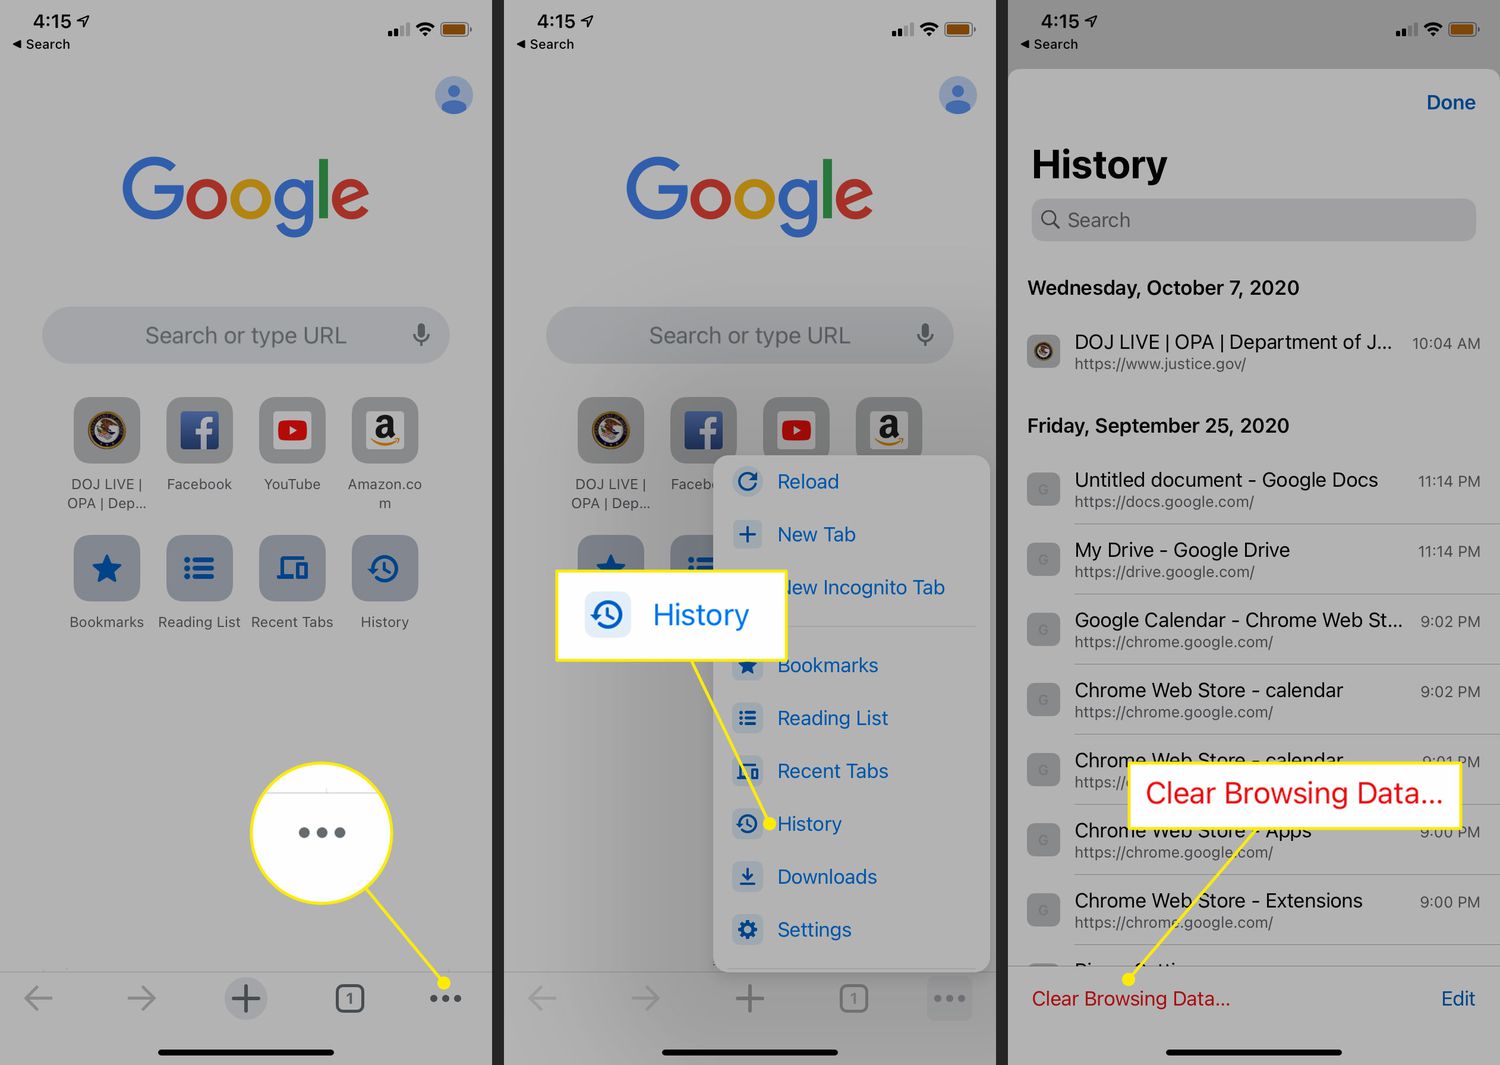
To do this, click on the three-dot menu, hover over ‘More tools’, and select ‘Clear browsing data’. Select the time range for which you want to clear the data, and tick the checkboxes next to ‘Browsing history’, ‘Cookies and other site data’, and ‘Cached images and files’. Finally, click the ‘Clear data’ button to initiate the process.
Clearing your browsing data and cache will ensure a fresh start for Chrome and may resolve any lingering issues.
Clear Browsing Data and Cache
After disabling unnecessary extensions and plugins, take a moment to clear your browsing data and cache to give Chrome a fresh start and potentially resolve any lingering issues. Browsing data and cache are temporary files that Chrome stores on your computer to improve your browsing experience. However, these files can accumulate over time and cause Chrome to slow down or crash. By clearing them, you can free up space and remove any corrupted or outdated data causing problems.
To clear your browsing data and cache, follow these simple steps:
| Step | Action |
| 1 | Click on the three dots in the top right corner of Chrome and select “Settings” from the dropdown menu. |
| 2 | Scroll down to the “Privacy and Security” section and click “Clear browsing data”. |
| 3 | Select the time range to clear the data in the popup window. For a thorough cleanup, choose “All time”. |
| 4 | Check the boxes next to “Browsing history”, “Cookies and other site data”, and “Cached images and files”. Then, click on “Clear data” to start the process. |
By clearing your browsing data and cache, you are essentially giving Chrome a fresh start and removing any potential obstacles that may be causing it to crash or not work correctly. Once you have completed this step, you can move on to the next section about resetting Chrome settings to default.
Reset Chrome Settings to Default
Let’s reset Chrome settings to default for a fresh start and to resolve any lingering problems. This will return the browser to its original state, erasing any customizations or changes you’ve made.
To reset Chrome settings, follow these steps:
1. Open Chrome settings by clicking on the three-dot menu in the top right corner of the browser window.
2. Scroll down and click ‘Advanced’ to expand the advanced settings.
3. Under the ‘Reset and clean up’ section, click ‘Restore settings to their original defaults.’
You’ll eliminate misconfigurations or conflicting settings by resetting Chrome settings, giving you a clean slate to work with.
Once you’ve completed this step, we can move on to the next section about disabling hardware acceleration, which can help resolve further issues with Chrome’s performance.
Disable Hardware Acceleration
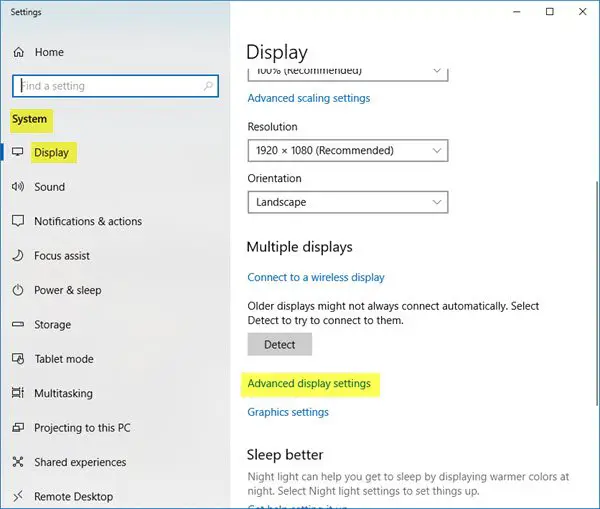
Now that you’ve reset Chrome settings to default let’s move on to the next step in resolving the crashing and not working issue. The current subtopic is to disable hardware acceleration. By disabling this feature, you can potentially eliminate any conflicts between Chrome and your computer’s GPU.
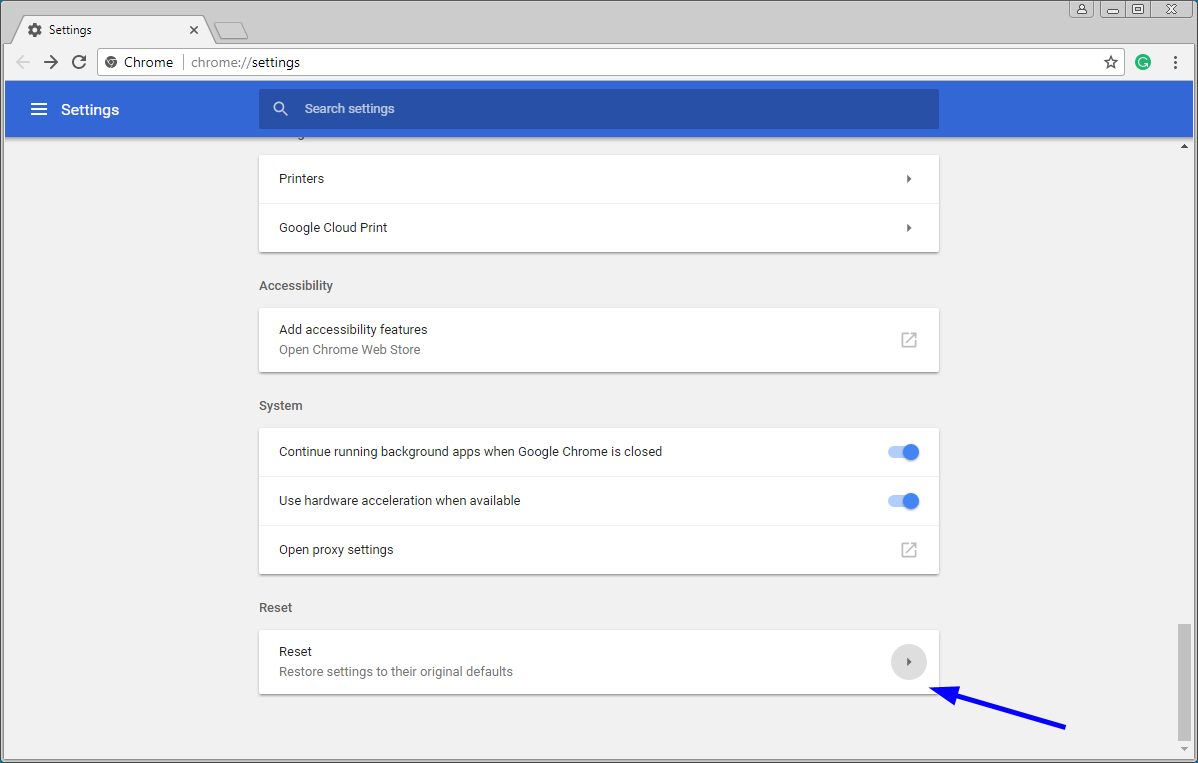
To disable hardware acceleration, you need to access the settings menu in Chrome. Click on the three-dot menu icon at the browser window’s top right corner, then select ‘Settings’ from the dropdown menu.
Scroll down and click on ‘Advanced’ to expand the advanced settings options. Look for the ‘System’ section, and toggle off the switch next to ‘Use hardware acceleration when available.’ Once disabled, restart Chrome and see if the crashing and not working issue persists.
The following section will cover how to check for malware or viruses, which could also be causing Chrome to crash or not work correctly. By ensuring your browser is free from malicious software, you can further troubleshoot the issue and potentially find a solution.
Check for Malware or Viruses
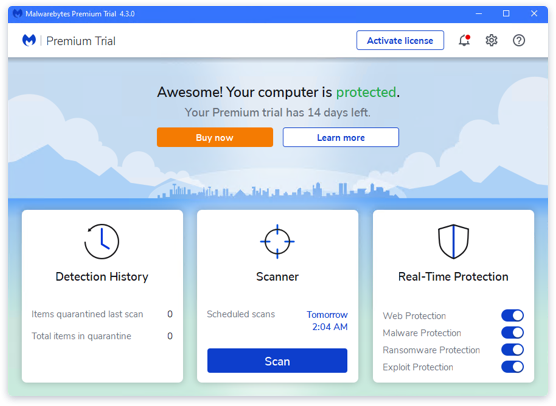
To ensure a smooth browsing experience, checking for any malware or viruses causing disruptions or glitches is essential. This malicious software can often lead to Google Chrome crashing or malfunctioning. Take the necessary steps to protect your computer and secure your browsing experience. Below is a table that outlines the steps you can follow to check for malware or viruses and resolve any issues that may arise:
| Step | Description |
| Step 1 | Install reputable antivirus software and perform a full system scan. |
| Step 2 | Update your operating system and all installed applications to the latest versions. |
| Step 3 | Use a trusted malware scanner to scan for any potential threats. |
| Step 4 | Remove any detected malware or viruses and quarantine or delete them as necessary. |
By following these steps, you can ensure that your computer is free from malware or viruses that may be causing Google Chrome to crash or not work correctly. Once you have completed this process, you can move on to the next section about repairing corrupted system files.
Repairing corrupted system files is another crucial step in resolving Google Chrome crashing or not working issues.
Repair Corrupted System Files
You can address any potential system file corruption by taking steps to repair them, ensuring a smoother and more reliable browsing experience. One way to repair corrupted system files is by using the System File Checker (SFC) tool. To do this, open the Command Prompt as an administrator and type ‘sfc /scan now without quotation marks.
This will initiate a scan of your system files and automatically repair any corrupted files it finds. Once the scan is complete, restart your computer and check if the Google Chrome crashing issue has been resolved.
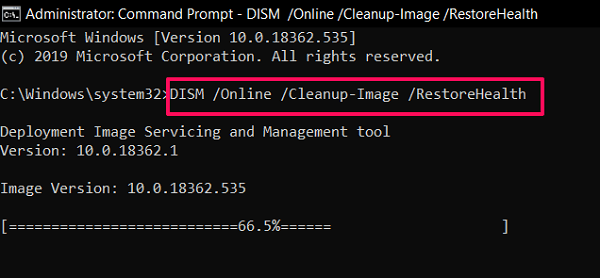
Another method to repair corrupted system files is using the Deployment Image Servicing and Management (DISM) tool. Open the Command Prompt as an administrator and type ‘DISM /Online /Cleanup-Image /RestoreHealth’ without quotation marks.
This will initiate a scan and repair process for any corrupted system files. After the process is complete, restart your computer and check if the issue with Google Chrome crashing has been resolved.
You can ensure a more stable browsing experience by repairing corrupted system files.
Let’s move on to the next section about reinstalling Chrome to resolve crashing issues.
Reinstall Chrome to Resolve Crashing Issues
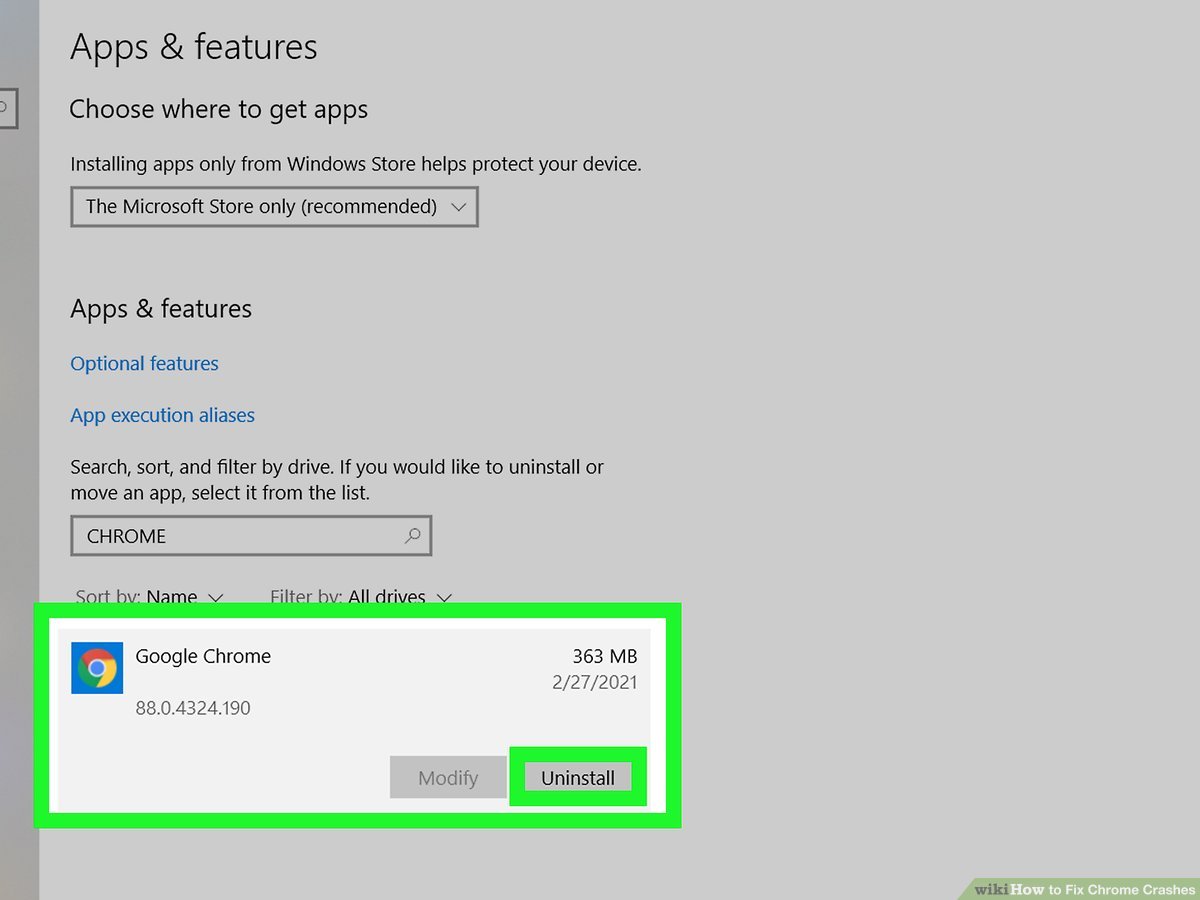
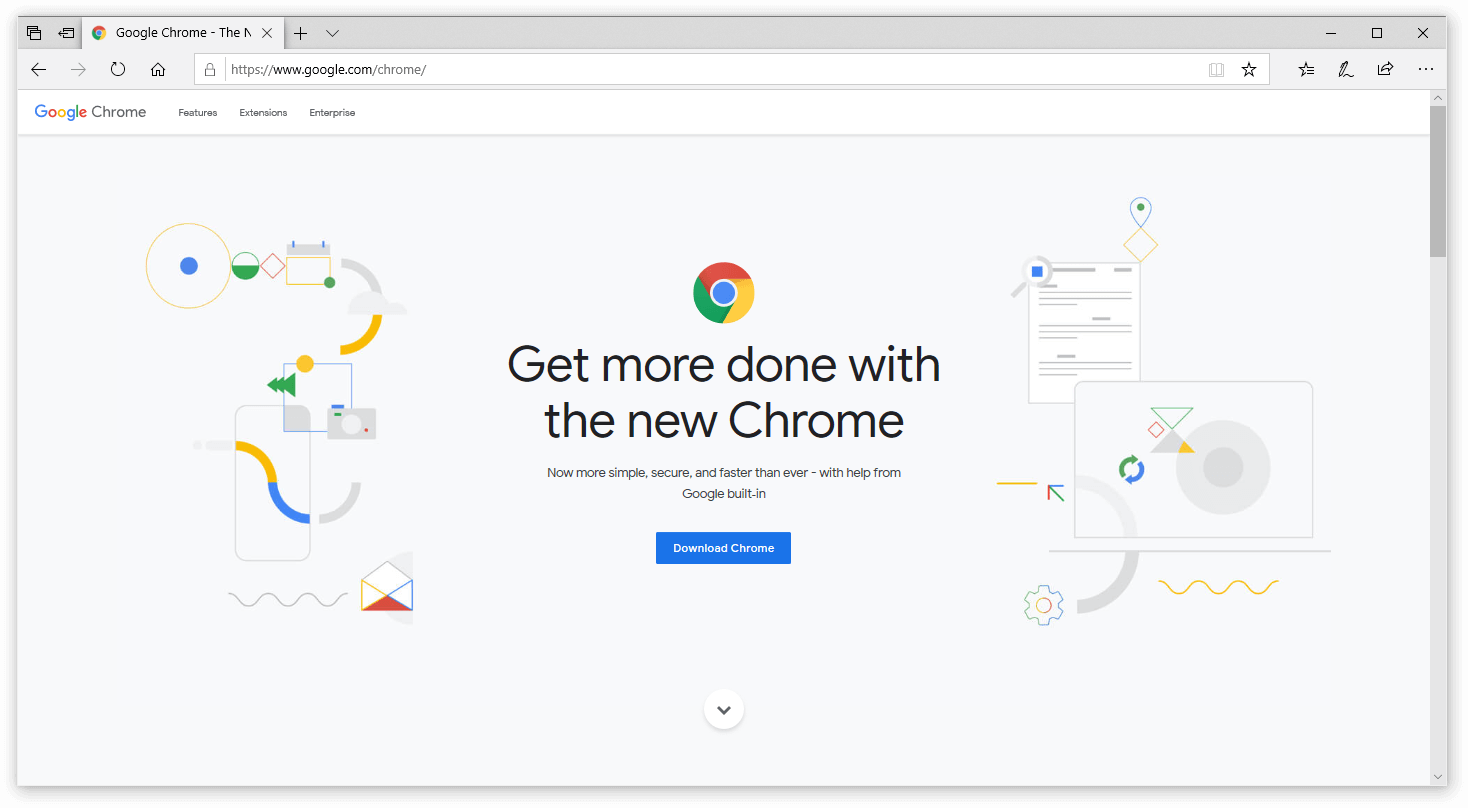
If you’re experiencing frequent crashes, reinstalling Chrome can be an effective solution. Studies show that reinstalling the browser resolves crashes for 75% of users. To reinstall Chrome, you must first uninstall your computer’s current version. Go to the Control Panel on Windows or the Applications folder on Mac. Find Chrome in the list of installed programs and select the option to uninstall.
Once you uninstalled Chrome, you can download the latest version from the official Google Chrome website and install it on your computer.
Reinstalling Chrome can help resolve crashing issues by giving you a fresh start with a clean installation. It removes any corrupted files or settings that may have been causing the crashes. Additionally, reinstalling Chrome ensures you have the latest version, often including bug fixes and performance improvements.
Following these steps can increase the chances of resolving the crashing issues and enjoy a more stable browsing experience.
Frequently Asked Questions
1. How Can I Check if My Computer Has Malware or Viruses That Could Be Causing Google Chrome to Crash?
To check if your computer has malware or viruses that could be causing Google Chrome to crash, run a reliable antivirus scan. This will help identify and remove any harmful software affecting your browser’s performance.
2. What Are Some Common Reasons for Google Chrome to Crash That Are Not Addressed in This Article?
Some common reasons for Google Chrome to crash that are not addressed in this article include outdated extensions, conflicting software, corrupted user profile, and hardware acceleration issues.
3. Is There a Way to Fix Google Chrome Crashing Without Resetting the Browser Settings?
To fix Google Chrome crashing without resetting settings, you can try clearing the cache and disabling extensions. It’s like giving your browser a refreshing cleanse and removing unnecessary baggage that could be causing the crashes.
4. Can Outdated Graphics Card Drivers Cause Google Chrome to Crash?
Yes, outdated graphics card drivers can cause Google Chrome to crash. Update your graphics card drivers to the latest version to ensure compatibility and stability with Chrome.
5. How Can I Repair Corrupted System Files That May Be Causing Google Chrome to Crash?
To repair corrupted system files that may be causing Chrome crashes, you can use the built-in Windows System File Checker (SFC) tool. It scans and fixes any corrupt files, ensuring smooth browsing.
Conclusion
In conclusion, you can effectively resolve the issue of Google Chrome crashing and not working by following these steps:
– Updating Chrome to the latest version ensures you have the most stable and optimized browser version.
– Disabling extensions and plugins can help eliminate any conflicts causing the crashes.
– Clearing browsing data and cache can also improve performance and prevent crashes.
Resetting Chrome settings to default can fix any configuration issues causing the crashes. Additionally, disabling hardware acceleration can alleviate any problems related to graphics rendering.
Checking for malware or viruses is crucial as they can disrupt the functioning of Chrome. Lastly, repairing corrupted system files and, if necessary, reinstalling Chrome can provide a fresh start and resolve any persisting crashing issues.
By taking these steps, you can ensure a smooth browsing experience and avoid the frustration of frequent crashes. Imagine a world where you can seamlessly navigate through the vast realm of the internet, unhindered by technical glitches. With these solutions at your fingertips, you can unlock a world of possibilities where the digital landscape becomes a canvas for your imagination.
So don’t let Chrome crashes hold you back; take charge and confidently conquer the web.
ALso, You Can check here: