TWRP (Team Win Recovery Project) is one of the most essential tools for advanced Android customization and development. Installing TWRP unlocks tremendous potential allowing you to flash custom ROMs, kernels, mods, perform complete device backups and much more. However, the typical method of installing TWRP requires an unlocked bootloader, root access on the device and a PC to transfer recovery image files.
But what if you want the power and utilities of TWRP without already having root privileges on your Android phone? Or without access to a Windows or Mac computer to transfer files? Not to worry, there are proven methods to install TWRP recovery even without root and PC access.
This detailed guide will explore step-by-step techniques to flash TWRP recovery on your Android smartphone or tablet using just the device and some handy accessories. By using an external microSD card, USB OTG adapter or ADB commands, you can conveniently install TWRP without PC and pre-existing root permissions.
We will cover TWRP and why you may want to install it, download the correct TWRP images for your specific device model, enter recovery mode, transfer the recovery image to internal storage, flash TWRP custom recovery, boot into TWRP for the first time, and troubleshoot any potential issues. By the end, you can unlock your Android device’s full custom development potential by having TWRP ready for rooting and backups, installing custom ROMs like LineageOS or Resurrection Remix, and so much more.
While this does involve some risk of bricking if instructions are not followed properly, the ability to customize and tweak your phone to new heights makes it worthwhile. So let’s get ready to install one of the most powerful Android utilities – TWRP custom recovery – on your phone without needing a rooted device or computer access. Just some simple accessories like a microSD card or OTG adapter, the proper TWRP recovery image and your Android device are all required!
So let’s get started learning how to successfully install TWRP recovery on your Android device without root or PC access.
What is Twrp, and Why Install It?

TWRP stands for Team Win Recovery Project. It is an open-source custom recovery built as a replacement for stock recoveries like the one your Android phone comes with.
The key advantages of installing TWRP include:
- Install Custom ROMs: With TWRP, you can install custom ROM firmware like LineageOS, Resurrection Remix etc to customize your device.
- Root Access: TWRP allows you to easily flash packages like Magisk to gain root access and use root apps.
- Full Backups: Take complete backups of your phone setup, including app data with TWRP.
- File System Access: TWRP provides full access to your phone’s partitions for easy file editing and transfer.
- Themes & Updates: TWRP is actively updated with new features. You can also theme it to change its look.
For these reasons, having TWRP vastly expands what you can do with your Android device through custom development.
Requirements to Install Twrp Without Pc

To install TWRP without a PC, here are the requirements:
- Android device with unlocked bootloader
- Latest TWRP recovery image for your device
- USB OTG adapter or SD card for transferring TWRP image to a phone
- Patience and ability to follow instructions carefully
The bootloader must be unlocked as the first step to flash any custom images. TWRP recovery can then be installed without a PC using an external SD card, USB OTG, or ADB.
Warning: Installing Twrp Voids Warranty
Before you proceed, please note that installing any custom recovery like TWRP voids your device’s warranty in most cases. Additionally, the process involves some risk of data loss or bricking if any step is not followed correctly.
You can re-lock the bootloader later to restore the warranty bit, but any tampering detected may still void the warranty. So proceed at your own risk!
Downloading TWRP Recovery Image
The first step is downloading the TWRP image file specifically built for your phone model.
Search for your phone on the official TWRP site and then download the latest recovery image. For example, twrp-x.x.x-x-oneplus7.img
Alternatively, you can find TWRP downloads on sites like XDA Developers forum for your particular device model.
Make sure the TWRP version matches your Android OS version. This is critical for compatibility.
Transferring TWRP to Phone Storage
Once you have downloaded the TWRP image file on your Windows/Mac PC, we must transfer it to the phone’s internal storage or SD card.
This can be done in several ways:
USB OTG
- Connect a USB OTG adapter to your phone’s USB-C/microUSB port.

- Plug the TWRP file’s USB drive to transfer it to your device.

- You may need to use a file manager app to locate the drive and move the file.
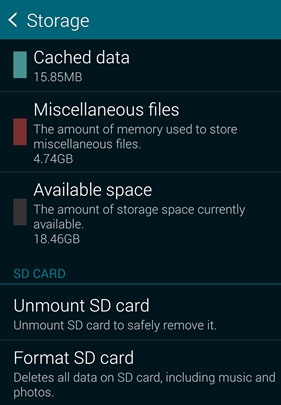
MicroSD Card
- Use a microSD card reader to copy the TWRP image to a memory card.
- Insert this card into your phone’s microSD slot to access the file internally.
ADB Push
- Install ADB and Fastboot tools on your PC.
- Connect the phone via USB and enable USB debugging.
- Type
adb push twrp.img /sdcard/to transfer the file.
Out of these, using an SD card or USB OTG adapter is simpler. You must enable developer options and USB debugging on your device for ADB.
Booting Into Recovery Mode

We must boot into recovery mode once the TWRP recovery image file is on your storage.
Each Android phone has a different hardware key combination to enter recovery. For example:
- OnePlus – Hold Power + Volume Down
- Samsung – Hold Power + Volume Up + Bixby button
- Xiaomi – Hold Power + Volume Up
Search online for the recovery key combo for your phone model and use it to boot into stock recovery mode.
You should see the Android robot logo with red exclamation mark once in recovery mode.
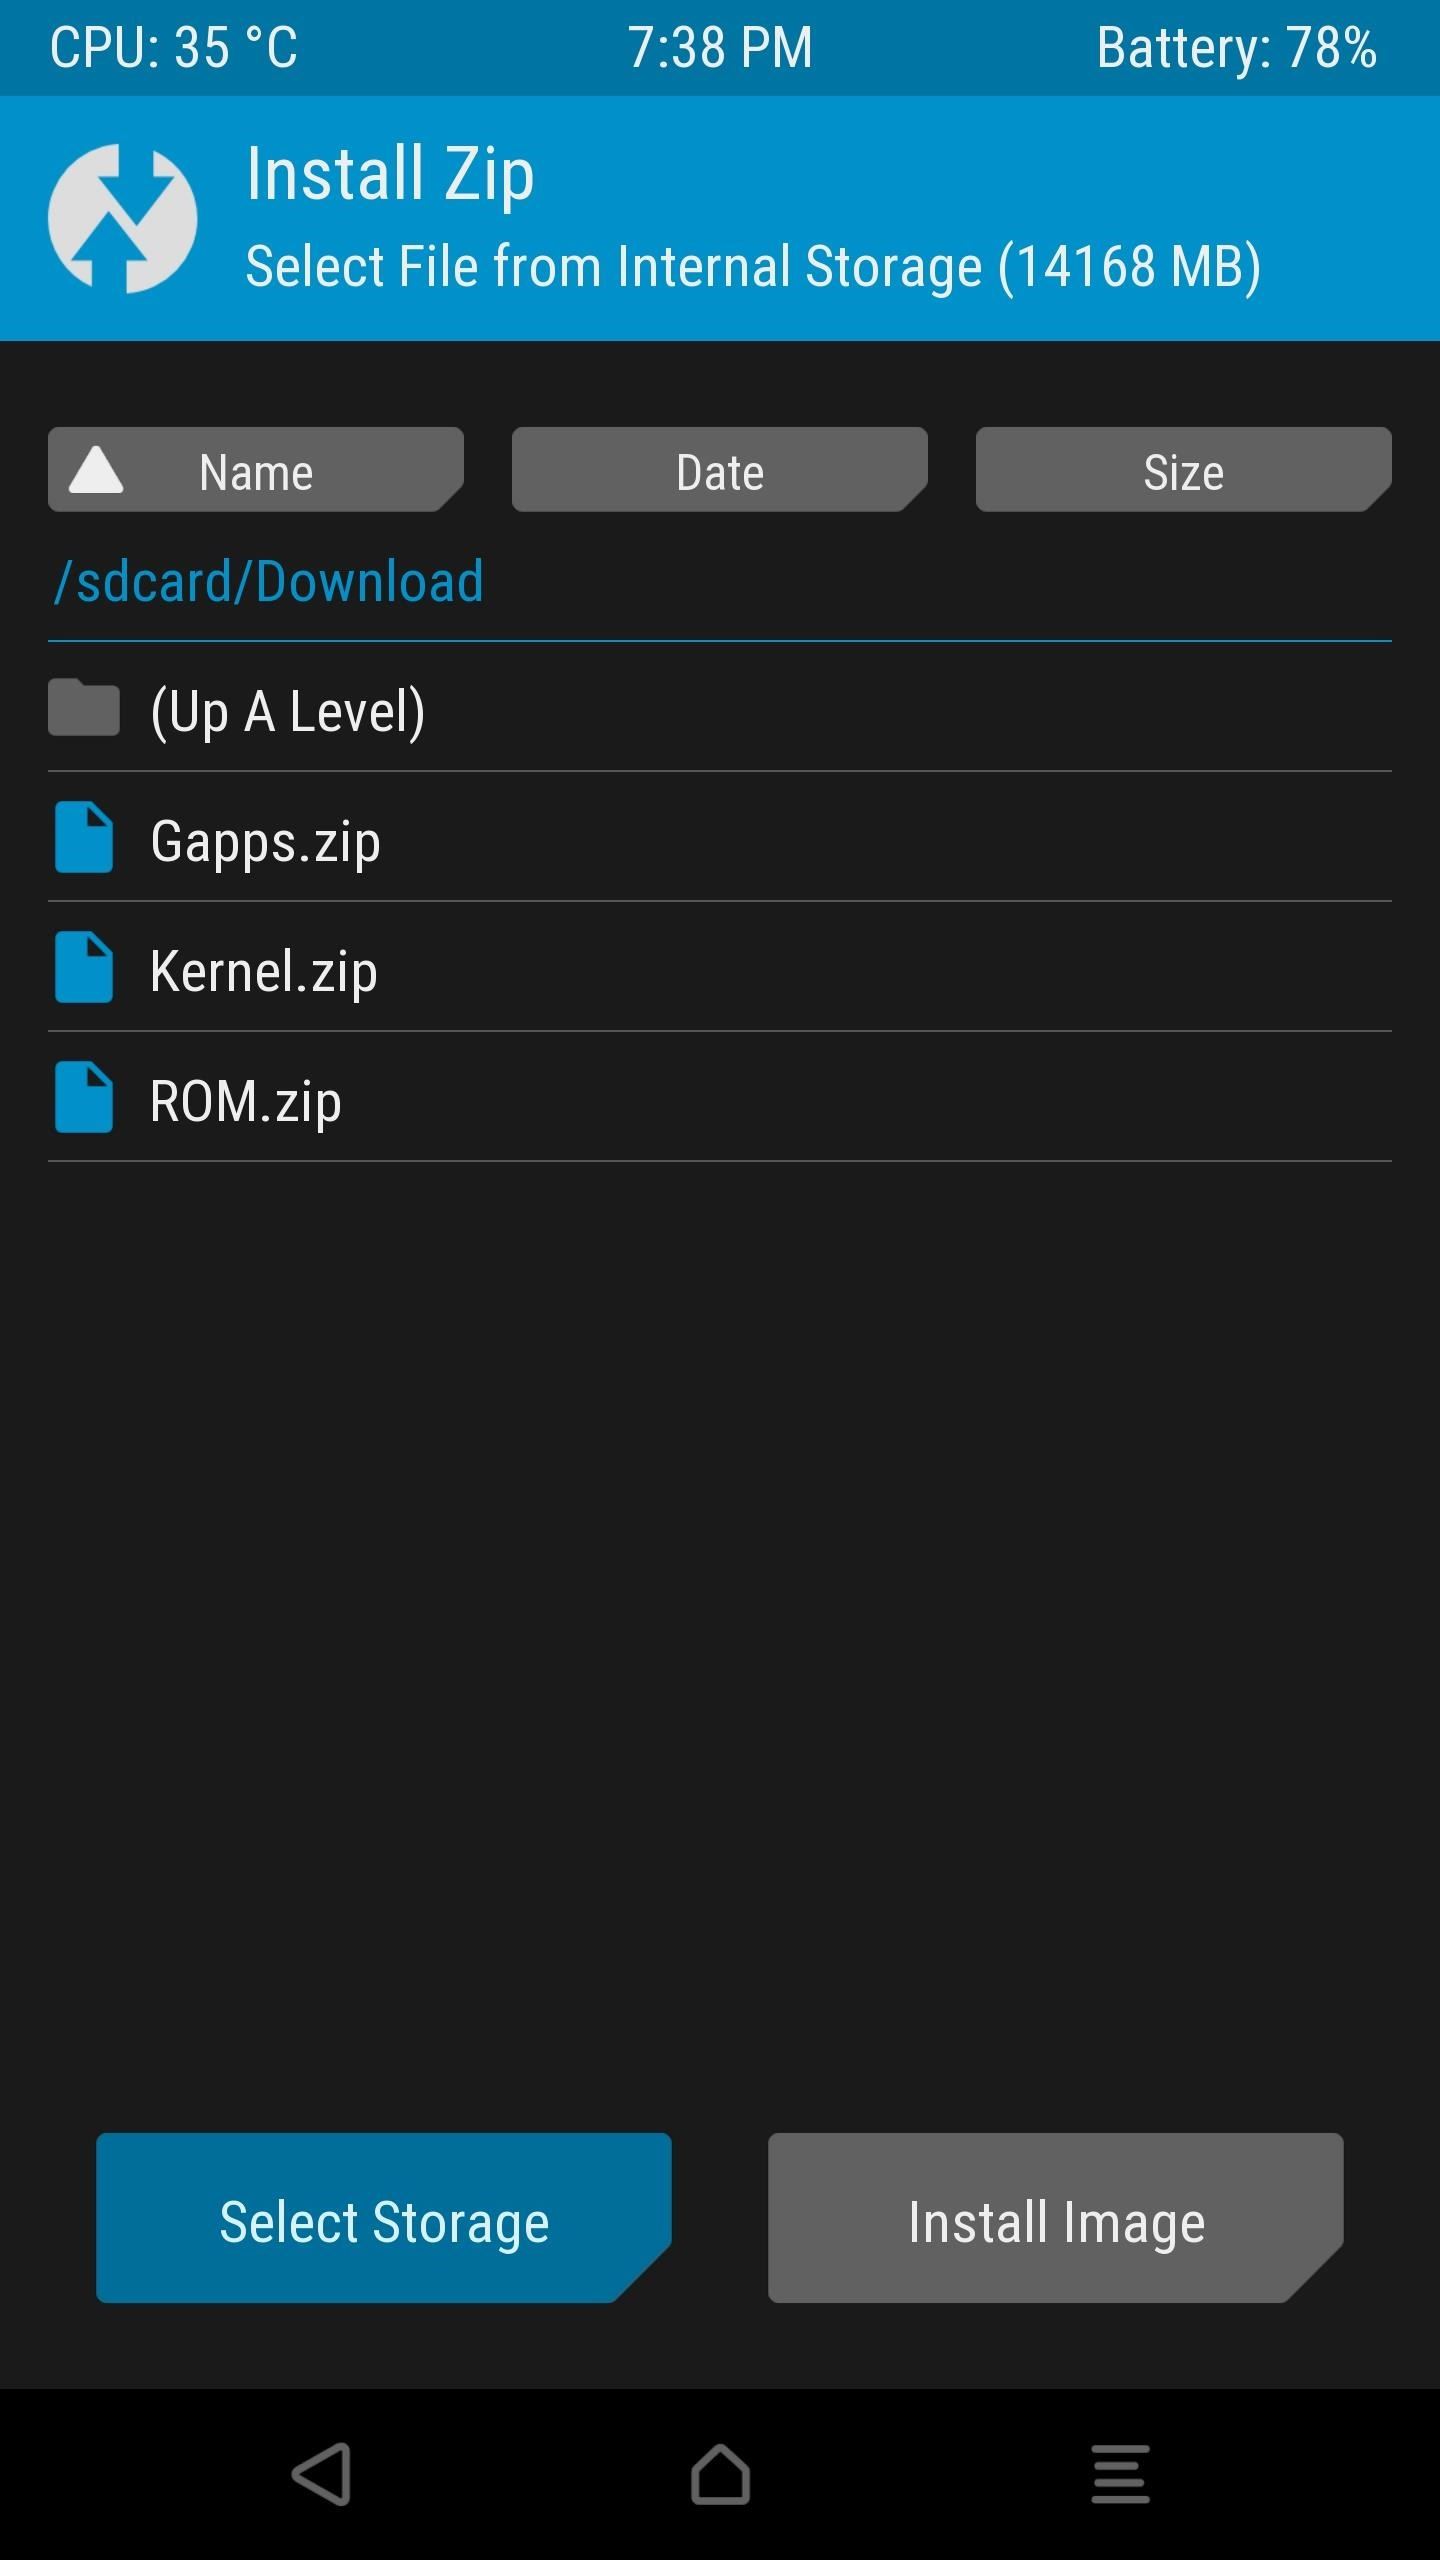
Flashing TWRP Recovery
Now comes the most crucial step – flashing the TWRP recovery image to replace the stock recovery.

In recovery mode:
- Tap Apply update from SD card or ADB sideload option.
- Select the TWRP image file from storage.
- Swipe to confirm flash on the next screen.
This will take a few minutes as TWRP gets flashed to your recovery partition, overwriting the stock recovery image.
If your stock recovery has an Apply from USB option, you can transfer TWRP to a USB drive and flash it from there.
First Boot into TWRP
Once the TWRP flash is successful, use the recovery mode key combination again to reboot into recovery.
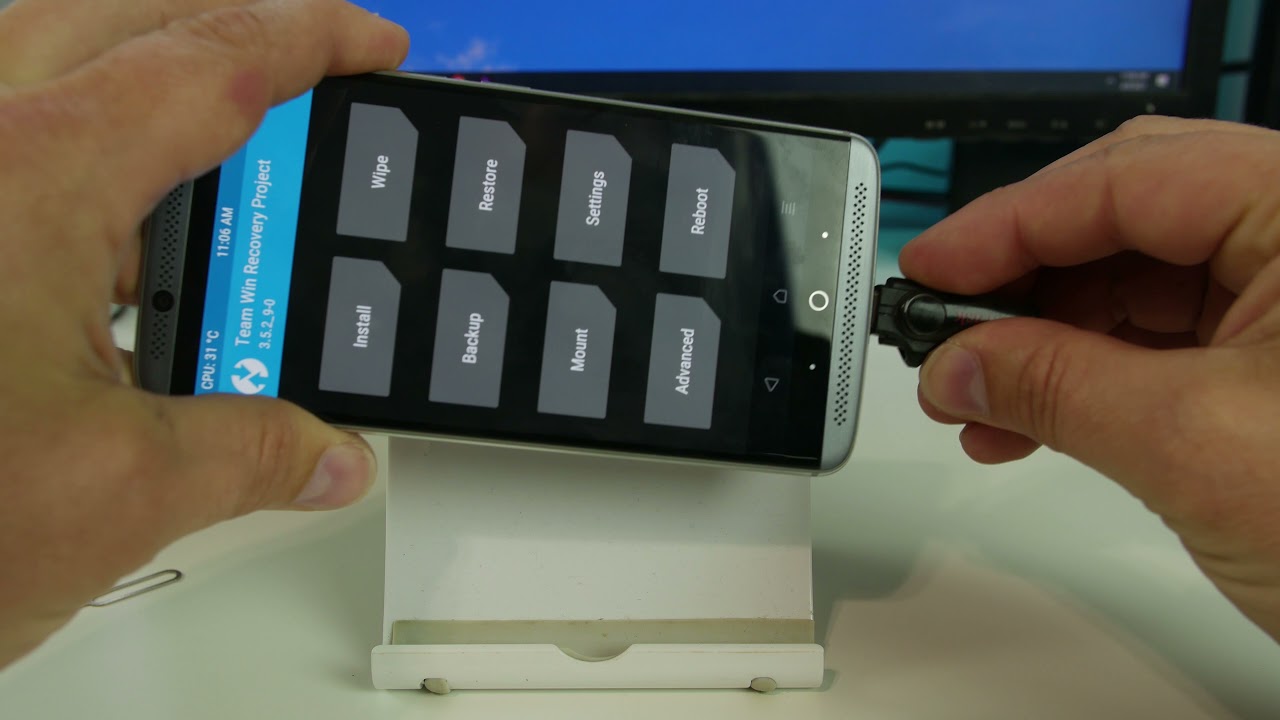
You should boot into the Team Win Recovery Project instead of stock recovery. The UI is orange-colored with the TWRP logo at the top.
The first boot may take longer as TWRP decrypts data. Take a full Nandroid backup immediately in case something goes wrong later.
You can now use TWRP to root your device, install custom ROMs or kernels, take backups and more.
Troubleshooting TWRP Installation
While following the steps correctly should install TWRP smoothly, you may encounter certain problems. Here are some solutions:
- Stuck on boot screen – If your device is stuck on boot after flashing TWRP, you may need to factory reset or reflash the stock firmware using the OEM method.
- Touch not working – Some devices need additional configuration to enable touch in TWRP. Search XDA threads related to your phone model for the fix.
- Can’t boot into recovery – Double check you are using the correct key combination to enter recovery mode for your device.
- TWRP gets replaced by stock – Some phones automatically flash stock recovery, so you must reflash TWRP after every official OTA update.
Bricking is extremely rare if instructions are followed correctly. But make sure your data is backed up beforehand as a precaution.
Popular TWRP Installation Methods Without PC:
SD Card Method:
- Download TWRP img and transfer to SD card via card reader
- Insert SD card into device
- Boot into recovery and select TWRP img from SD card
- Swipe to flash
USB OTG Method:
- Download TWRP image and transfer to USB OTG drive
- Connect OTG drive to phone’s USB-C port
- Use file manager to find TWRP img on OTG drive
- Boot to recovery, select image and swipe to flash
ADB Sideload Method:
- Install ADB on PC and connect phone via USB
- Transfer TWRP image to device with
adb push twrp.img /sdcard/ - Boot into recovery and select Apply update from ADB
- On PC, sideload with
adb sideload twrp.img
Magisk Method:
- Install Magisk Manager app

- Go to Install > Install from Storage
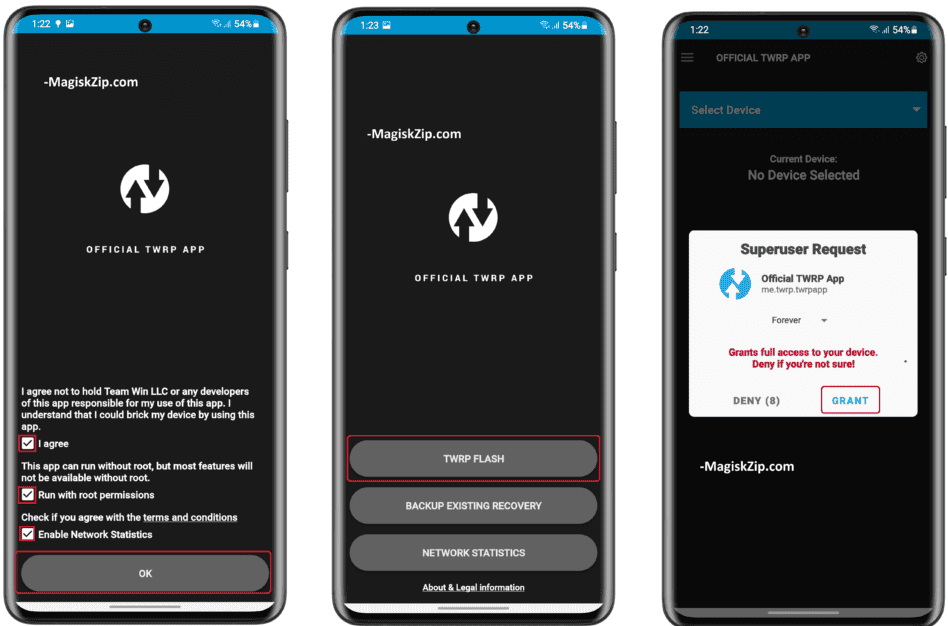
- Select TWRP img from storage

- Tap Flash after reboot prompt
FAQs
Q 1. Will Twrp Work on Any Android Phone?
A. No, TWRP is only available for certain phone models. Check their website for compatibility.
Q 2. Do I need to root my phone before installing TWRP?
A. No, you can install TWRP first and then use it to root your phone if needed.
Q 3. Is Relocking Bootloader Possible After Installing Twrp?
A. Yes, you can relock the bootloader but you will lose TWRP in the process.
Q 4. What Happens if I Can’t Boot Into Recovery Mode?
A. If you can’t enter recovery, try rebooting and retrying the key combination. Also, check for solutions specific to your phone model.
Q 5. How Do I Uninstall Twrp and Get Stock Recovery Back?
A. You can flash the stock recovery image for your phone via ADB/Fastboot to replace TWRP with the stock recovery.
Conclusion
Installing TWRP recovery on your Android device without a PC or root access is made straightforward using the methods outlined in this guide. By transferring the TWRP image via SD card, USB OTG or ADB sideload, you can flash TWRP without much hassle.
However, it’s crucial to follow the installation steps carefully and use the TWRP version compatible with your phone’s model and Android version. While TWRP unlocks great customization potential, improper installation can risk bricking your device.
Once successfully set up, regularly reflash TWRP if needed after OTA updates that replace it with stock recovery. Overall, this handy guide lets you conveniently enjoy the benefits of advanced TWRP recovery on your Android phone without a PC.