For music aficionados, their collection of songs is their treasure. And their immediate source of this treasure is often their iPhone. But there comes a time when we stumble upon an epic track on our computer, and we’re left wondering, “How to Transfer Music from Computer to iPhone without iTunes?” It’s not always seamless, especially when you want to circumvent the traditional iTunes path—a situation more common than you might assume.
Understanding “How to Transfer Music from Computer to iPhone without iTunes” isn’t just about learning a new trick; it’s about taking the love for music into your hands, embodying the role of a true DJ of your little world. The confines of an application no longer bind you; you’re free to juggle your music your way. Transferring music without n iTunes can streamline your musical experience; it’s a less restrictive journey, allowing the sorting and playing of tracks in a way that suits you—the listener.
Music on your computer alone can sometimes feel limiting, leading us to the vital question, “How to Transfer Music from Computer to iPhone without iTunes?” The magic of an iPhone lies in its portability, letting you tap your foot to the rhythm wherever you go. Hence, it’s crucial to equip this companion with the best tunes in your collection.
Yet, the quest for solutions on “How to Transfer Music from Computer to iPhone without iTunes” stems from a need for flexibility. Since iTunes is a proprietary software, individuals might encounter compatibility issues with certain file formats. Also, the application’s software restrictions might not appeal to everyone. As a result, alternative ways to transfer music take center stage.
The main objective is learning “How to Transfer Music from Computer to iPhone without iTunes.” By mastering this skill, you can enjoy your iPhone music collection without worrying about the hassle of navigating through iTunes or being held back by its limitations. This saga might seem challenging at first, but once you get the hang of it, it’s smooth sailing—or, in this case, smooth sound waves!
In essence, understanding “How to Transfer Music from Computer to iPhone without iTunes?” liberates the music enthusiast in you, allowing you to manage your music your way, letting your iPhone reverberate the echoes of your musical taste anytime, anywhere.
What is iTunes
iTunes is Apple’s proprietary software to manage media files on its devices. Despite being rebranded as Apple Music on macOS Catalina and beyond, iTunes still exists for Windows users. The software allows users to play, download, and organize digital multimedia files on personal computers running the macOS and Windows operating systems, including music and video.
However, iTunes has its share of criticisms, which range from its larger installation size to its complex interface and sync issues, often leaving users searching for alternatives.
Transferring Music to iPhone without iTunes
Avoiding iTunes doesn’t mean avoiding music on your smartphone. This article breaks down three straightforward ways to transfer music from your computer to your iPhone: cloud storage services, third-party apps, and Apple’s AirDrop feature.
Firstly, we need to ensure our music files are in formats compatible with iPhone, which include MP3, AAC, WAV, AIFF, and Apple Lossless (.m4a). FLACS, while higher in quality, only works with certain apps and isn’t universally supported on iPhones.
Let’s dive into each method in more detail.
Method 1: Using a Cloud Storage Service
Cloud storage services like Dropbox, Google Drive, or OneDrive make transferring files, including music tracks, from a computer to an iPhone easy.
Step 1: Choose a cloud service. Each offers different free storage tiers, so pick according to your storage needs.
Step 2: Upload your music files to your computer’s chosen cloud storage service. This process varies slightly depending on the service but typically involves a simple drag-and-drop interface or an ‘Upload’ button.
Step 3: Download the corresponding app for your chosen cloud storage service onto your iPhone. These are all available for free on the App Store.
Step 4: Sign in using your account details once the app is installed. Your uploaded music files are ready to be downloaded to your iPhone.
Remember that the songs are kept within the app, and while you can play them directly, they are not transferred to your iPhone’s native Music app.
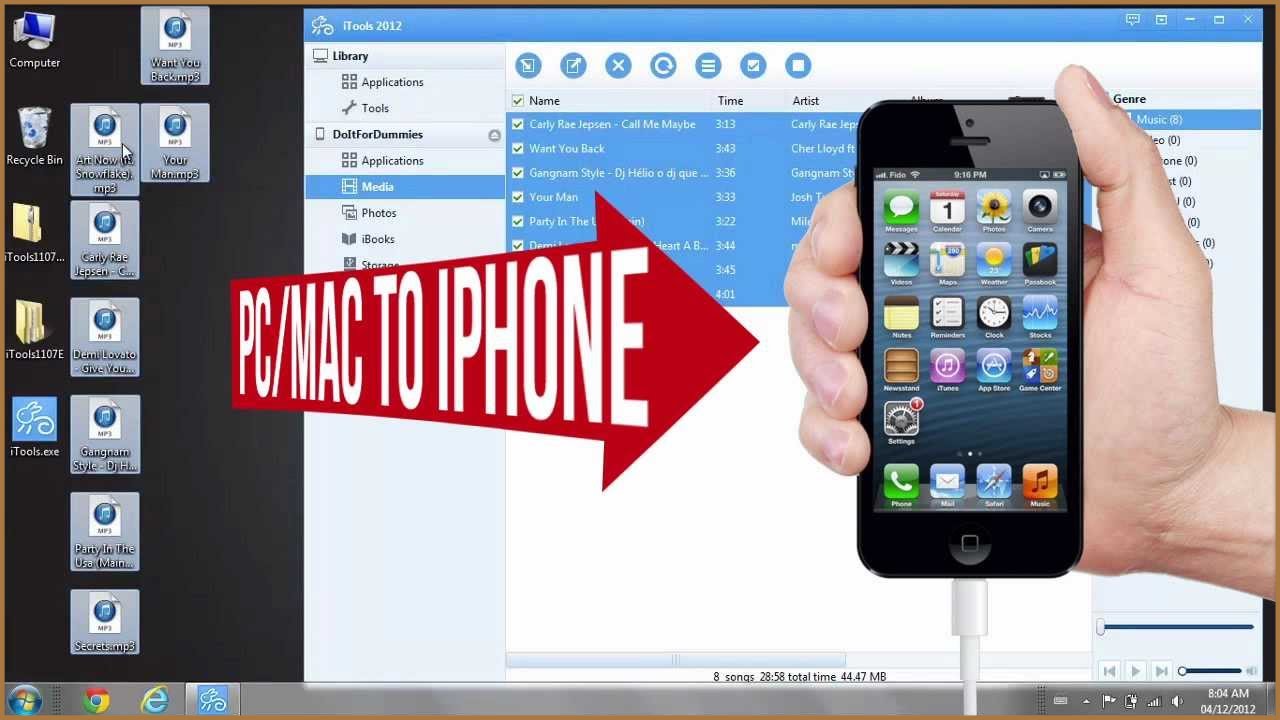
Method 2: Using a Third-party File Transfer App
There are several third-party apps developed for file transfer between devices. These include MediaMonkey, EaseUS MobiMover, iMazing, and so on.
Step 1: Choose a third-party file transfer app that suits your needs. Sampling a free version or trial before committing to a paid service is advisable.
Step 2: Install the chosen application on both your PC and iPhone.
Step 3: Connect your iPhone to your PC using a USB cable.
Step 4: Launch the application on your computer. It should automatically recognize your connected iPhone.
Step 5: Use the application’s interface to select the music you want to transfer to your iPhone. Step 6: Confirm the file transfer on the application. This might look like clicking a ‘Transfer’ button or dragging and dropping files.
Most third-party apps should be able to transfer the music directly into your Apple Music library.
Method 3: Using AirDrop
AirDrop is Apple’s proprietary method for sending files over Wi-Fi and Bluetooth—it works very well for transferring music from a Mac to an iPhone.
Step 1: Verify that AirDrop is turned on on your Mac (in Finder) and iPhone (in the control center).
Step 2: Open a Finder window on your Mac and navigate to the ‘AirDrop’ tab.
Step 3: Open the Control Center on your iPhone and ensure AirDrop is enabled and discoverable.
Step 4: Drag and drop your selected music files into the AirDrop window on your Mac.
Your iPhone will receive a notification for each song you send, and once you accept the transfer, the music will appear in your Music app.
Method 4: Transferring Music with WALTR PRO
WALTR PRO is software developed by Softorino that helps users drag and drop music to iPhone without iTunes. However, the software is not limited to music only; it lets the users transfer all kinds of files, such as videos, documents, photos, subtitles, etc. to the iPhone.
Here is a step-by-step guide to show you how easy it is to add music from a computer to an iPhone using WALTR PRO:
Step 1
First and foremost, you need to download the WALTR PRO music on your computer from the Softorino website and then follow the instructions on the screen to install the software on your PC.
WALTR PRO is free to download, and it gives a free 24-hour trial upon installation; however, after that time frame, you have to buy a paid subscription.
Step 2
After you are done with the installation process, you need to launch the application and connect your iPhone to your computer via the standard USB cable. Users also have the option to connect wirelessly through the Wi-Fi feature. Still, for that to work, users will have to turn on the wireless connectivity option from the settings, and upon connecting for the first time with a USB, they have to click on Trust the device button.
Step 3
Once you are set up, you must drag the music file you want to transfer to your iPhone and drop it in the WALTR PRO drop zone. You don’t need to worry about the music file format because the WALTR PRO app automatically converts the file into Apple-compatible format during the transfer process.
Step 4
After you have dropped the file into the WALTR PRO drop zone, a blue progress bar will appear on the screen that will show you how long the file will take to transfer, which is not more than a few seconds.
After the process is finished, you must visit the Music app on your iPhone and look for the music track you transferred using the WALTR PRO application.
This is it; that is all you have to do to transfer music from your computer to your iPhone using the WALTR PRO application.
Additional Tips
Transferring music from a computer to an iPhone without iTunes brings along its own set of tips and cautions. Here are a few to keep in mind:
- If you use a cloud storage service, check your account to ensure you have enough free storage to upload your music files. If not, consider upgrading your storage plan or using a different service.
- If you use a third-party file transfer app, make sure the app is up-to-date. Compatibility is key, so having the latest features and security patches will provide a smooth experience.
- Ensure both devices are connected to the same Wi-Fi network when using AirDrop. This will ensure quicker file transfer and prevent unexpected disconnections.
- Convert your music files only into formats that iPhone natively supports such as MP3, AAC, WAV, AIFF, and Apple Lossless (M4A)
Troubleshooting advice
If you encounter issues while transferring your music to your iPhone, don’t panic! Here are some general troubleshooting tips that can guide you:
- Restart both your computer and iPhone: This simple step can solve many minor glitches you might be experiencing.
- Ensure you’re using a reliable and compatible USB cable: This is especially crucial when using a third-party transfer app. Defective cables may not establish a stable connection between your computer and iPhone.
- Try transferring music files one by one: Bulky transfers sometimes cause the process to freeze. Transferring files one at a time can be a useful strategy in circumventing this issue.
- Reach out to app support: If you use a third-party file transfer app and encounter an issue, head to the app’s support website. They will likely have solutions to common issues or provide the option to chat with a support representative.
In conclusion, iTunes is not the only way to transfer music from a computer to an iPhone. With a multitude of cloud storage services, third-party apps, and built-in features like AirDrop at our disposal, it has never been easier to enjoy your favorite music on your iPhone without the constraints of iTunes.
Every method comes with its unique advantages, whether it is the cross-platform convenience of Dropbox, Google Drive, and OneDrive, the specialization and additional features provided by third-party apps like MediaMonkey and iMazing, or the speed and simplicity of AirDrop.
Frequently Asked Questions
In addition to providing detailed methods to transfer music from a computer to an iPhone without iTunes, we’ve compiled a list of frequently asked questions to offer even more help and insight.
Can I transfer music to iPhone without any app or service?
Yes, there is a method called Home Sharing that may work for some people. It has the same function as iTunes’ music sharing but uses Wi-Fi instead of a USB connection. You need to have the same Apple ID on the computer and your iPhone, and both devices should be connected to the same Wi-Fi.
Does transferring music from computer to iPhone erase music already on the iPhone?
If you use third-party apps or cloud storage like Dropbox, Google Drive, OneDrive, and AirDrop, they will not erase any existing data on your iPhone. These methods add music files to your existing library.
Can I transfer music from a computer to iPhone wirelessly?
Yes, you can wirelessly transfer music files through cloud storage services or AirDrop. Also, some third-party apps offer a feature known as Wi-Fi Sync, which allows you to synchronize your music over a Wi-Fi connection rather than using a USB cable.
What should I do if the iPhone does not support the music file format?
iPhone primarily supports MP3, AAC, WAV, AIFF and Apple Lossless (M4A) file formats. If your music file is in a different format (like FLAC), you must convert it to a supported format. There are several online tools and software applications available for this purpose.
Can I transfer music to iPhone without iTunes on Windows?
Yes, all the methods and services mentioned in this article, such as third-party transfer apps and cloud storage services, will work just fine on a Windows PC. However, note that AirDrop is only available on macOS.