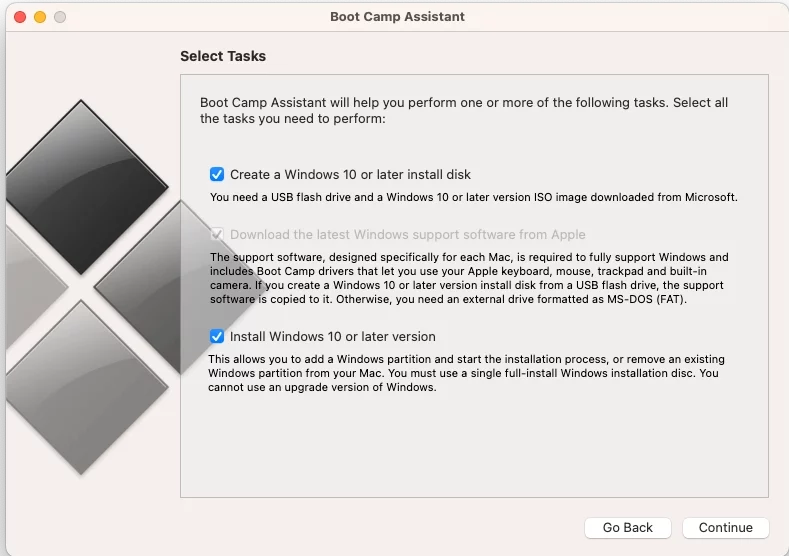
Apple’s Boot Camp Assistant provides an officially supported way to install Windows on a Mac. However, Boot Camp has some limitations – it requires rebooting to switch between macOS and Windows, allocates disk space even when not in use, and can be inconvenient for quick Windows access. Fortunately, alternatives exist for installing Windows 10 without Boot Camp.
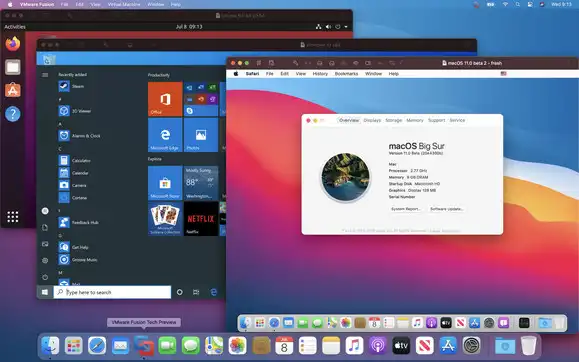
Virtualization software like VirtualBox, Parallels Desktop, and VMWare Fusion allow Windows to run inside macOS, eliminating reboots. Bootloaders like Clover enable advanced multi-boot setups, directly booting macOS and Windows partitions. Methods like these give greater flexibility without being restricted to Boot Camp.
This guide covers prerequisites, step-by-step installation instructions using virtualization software, advanced multi-booting methods, troubleshooting tips, performance optimizations, and comparisons to help you install Windows 10 on your Mac without Boot Camp. Follow to learn how.
For many Mac users, running Windows software is necessary, whether for work, gaming, or other purposes. Apple provides Boot Camp to dual-boot a Windows partition, which requires restarting to switch operating systems. If you need to access Windows on the fly without sacrifices, alternatives exist. Modern virtualization tools allow Windows to run on Mac like any app, sidestepping Boot Camp’s limitations.
Virtualization platforms like Parallels Desktop and VMWare Fusion efficiently encapsulate Windows inside a window on your macOS desktop. This sandboxed Windows environment enables properly configuring the operating system with enough computing resources to function swiftly when needed, while macOS remains running natively for your main tasks. Toggling between them is seamless.
Additionally, open-source solutions like VirtualBox offer similar capabilities for free. For tinkerers, the Clover bootloader facilitates advanced multiboot environments, dually launching Windows and macOS on bare metal instead of virtualization. Each approach carries certain tradeoffs around performance versus convenience and technical skill required.
This guide explores superseding Boot Camp with these alternative options for installing Windows 10 on your Mac. We cover purchasing Windows 10 license keys, obtaining installation media, virtual machine configuration, multiboot setup using Clover, managing drivers and kernels, optimization best practices, and troubleshooting advice.
Whether your goal is gaming or productivity, specialized software access, or just a simplified Windows experience perfected for Mac hardware, choices exist, freeing you from Boot Camp’s reboots and inflexibility, implementing our guidance, first-timers can straightforwardly establish Windows 10 within a virtual machine manager like Parallels. Seasoned experts may customize elaborate bootloader deployments to shift seamlessly between operating systems on demand. Follow along to realize Windows your way, without compromise.
Prerequisites
Before installation, your Mac hardware must be compatible with Windows 10 and meet the system requirements. Most Macs from the last 5-6 years can run Windows 10 acceptably via virtualization. MacBooks from 2015 onward can even handle native multibooting.
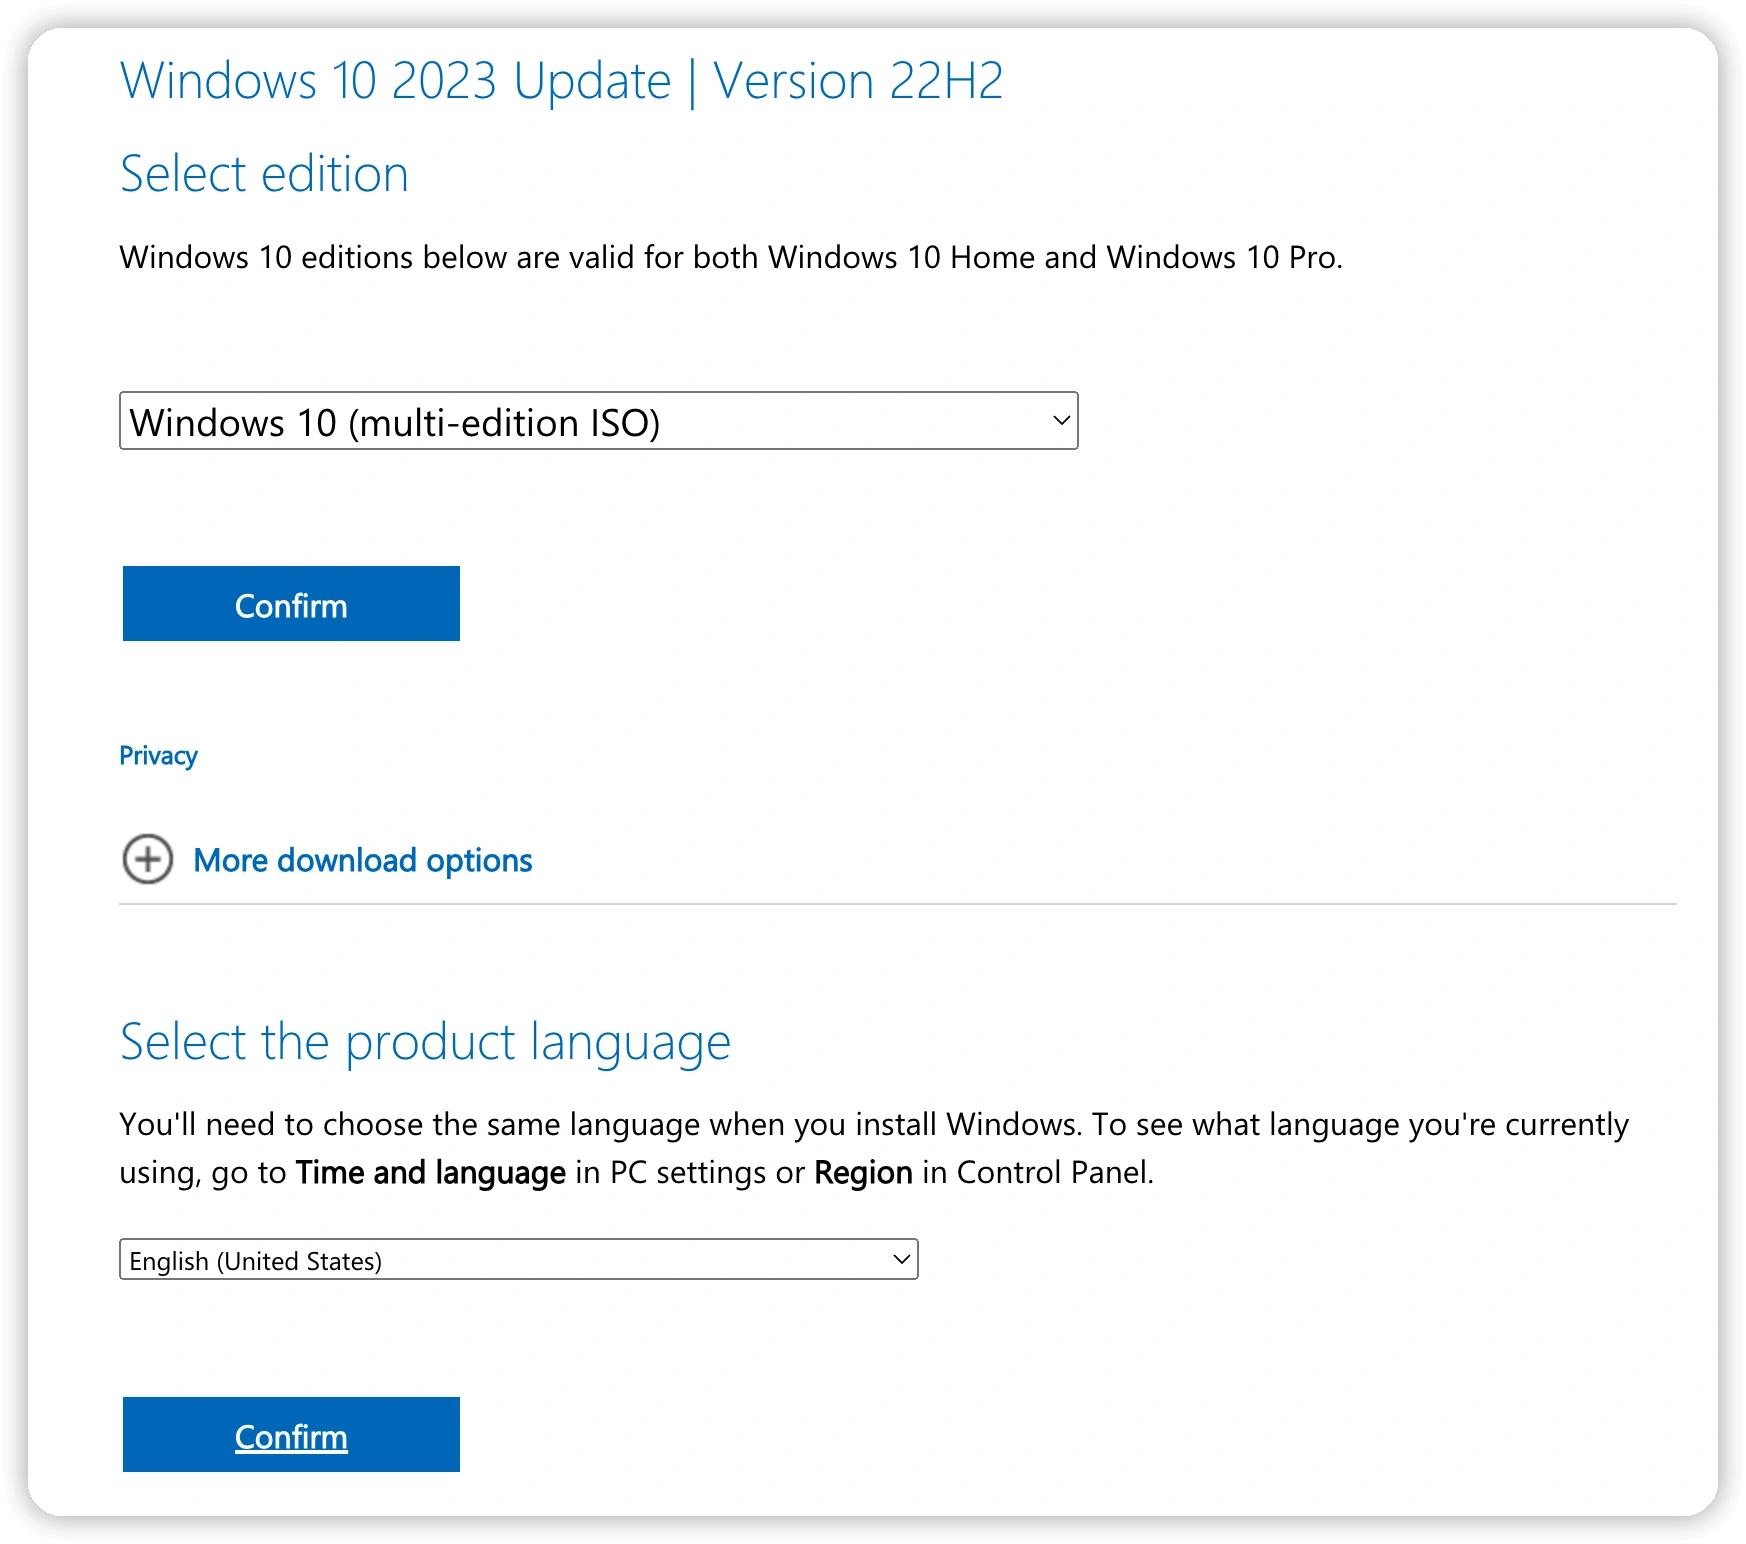
You’ll also need Windows 10 installation media. Download the latest 64-bit Windows 10 ISO file from Microsoft’s website. Verify the ISO with the provided checksums to ensure integrity. Acquire a valid Windows 10 license key for activation during or after installation.
For virtualization methods, choose software like the free VirtualBox, or paid VMware Fusion and Parallels Desktop, which offer better integration and performance optimizations for Mac. Then, download and install your chosen virtualization program.
Install Windows 10 on Mac Without Bootcamp
Easy steps for Install Windows 10 on Mac Without Boot Camp
Step 1: Switch on your Mac machine and boot up into Mac-OS. Open Launchpad, click, and then click Disk Utility to start the same manually.
Step 2: Once Disk Utility is launched, pick the drive (your SSD or HDD) on the left side, and then switch to the Partition tab. Disk Utility will show you the partition layout.
Step 3: Then, go through the small”+” sign to generate a fresh partition.
Step 4:
- Find the newly created partition.
- Enter a name for the new section (remember the name since you can readily choose the freshly made division later while installing Windows).
- Pick the size (atleast 30 GB).
- Select the format as DOS (FAT) or ExFAT.
You can choose either DOS or even ExFat here since you can format the partition to NTFS when installing Windows 10.
Click the Apply button to create a new partition to install Windows. Click the Partition button when you see the warning message once the new section is still ready, close Disk Utility.
Step 5: Then, you will need to organize bootable Windows-10 installment websites. Download and then execute UNetboot in (free) and prepare the bootable USB of all Windows 10.
Step 6: After you get the bootable press, restart your Mac, hold down the Alt (Option) key while restarting the Mac, select the option titled Windows (don’t choose EFI unless you are incredibly sure) to begin installing Windows on your Mac.
Step 7:
- Follow the straightforward on-screen instructions.
- When you see the partition selection screen, select the newly created partition (be sure to choose the right section).
- Click Format to format the partition with NTFS, choose the formatted partition, and then click the Install button to install Windows on your Mac.
Step 8: From here on, you need to follow the standard Windows-10 installation procedure.
Step 9: Once Windows is installed on your Mac, check if everything works fine.
When the keyboard, trackpad, or any other hardware doesn’t work, you might want to download device drivers (Bootcamp drivers) from Apple using our way to download Bootcamp drivers onto Windows-10 without Bootcamp Assistant computer software guide for directions.
Troubleshooting and Optimizations
Users may face issues like limited performance, activation problems or crashing during VM usage. Here are some common troubleshooting tips:
- Increase CPU cores and RAM allocation for your VM in settings to improve performance.
- Reinstall Guest Additions/Tools if graphics or mouse integration misbehaves.
- Try re-entering the license key for activation issues, or contact Microsoft Support for assistance.
- Disable graphics acceleration if Windows visuals have glitches or crashes occur.
For the best experience, also optimize your VM configuration:
- Enable virtualization extensions in your Mac’s BIOS if available.
- Use Parallels Desktop’s optimized defaults to allocate VRAM and CPU resources within Windows.
Comparison of Methods
Virtualization benefits from easy setup, allowing Windows and macOS to run simultaneously without impacting hardware access or disk partitions for macOS. Performance is sufficient for light Windows usage.
However, CPU and graphics bottlenecks for intensive Windows applications can occur compared to native multibooting performance, which is possible via Clover bootloader or UEFI firmware. But this requires partitioning internal drive storage and rebooting each time you switch OS.
Consider your usage needs, technical skill level, and hardware capabilities when deciding on the best approach for your requirements. Virtualization offers the easiest route for most Mac users to access Windows 10 without Boot Camp’s downsides.
Frequently Asked Questions
Q 1: What Are the System Requirements for Installing Windows 10 on Mac Without Boot Camp?
A: Most Macs from the past 5-6 years can run Windows 10 via virtualization, but may need at minimum, a dual-core Intel i-series CPU, 8GB of RAM, and 64GB of storage space. Native installation requires Macs from 2015 onward with Broadwell CPUs or later.
Q 2: is Windows 10 Free to Install on Mac?
A: The Windows 10 installer can be downloaded freely, but you need to supply a valid license key during or after installation to activate Windows and access all features. License keys can be purchased from Microsoft.
Q 3: Can Windows Get Viruses on Mac Hardware?
A: Yes, when running Windows via Boot Camp or virtualization the Windows OS has potential vulnerability to malware, just like any PC. Reputable antivirus software should be used inside Windows for protection.
Q 4: What Offers Better Performance: Virtualization or Multibooting?
A: For intensive Windows applications requiring maximum CPU, graphics and memory access, native multibooting via Clover will give the best Windows performance. But virtualization is fine for lighter usage and avoids reboots.
Q 5: What Are Kexts Needed for Windows 10?
A: To enable native hardware functionality, additional drivers called kexts are required when booting Windows directly instead of virtualizing. Common Kexts support trackpad gestures, Wi-Fi cards, and audio and graphics acceleration.
Conclusion
Installing Windows 10 without Boot Camp is achievable via free virtualization tools like VirtualBox or paid software like Parallels and VMware Fusion. These allow Windows 10 to operate alongside macOS without reboots, though native multi-booting can provide better graphics and computing performance.
Make sure to check that your Mac model and hardware specs meet requirements before getting started. Allocating sufficient RAM and storage to your Windows 10 virtual machine is key for usability. Experiment with the various methods discussed to determine which solution for running Windows suits your needs and technical capabilities best.
Leveraging these alternative techniques for accessing Windows 10 brings greater choice and flexibility than being restricted to Boot Camp. With virtualization continuing to progress, supporting operating system integration, Mac users have more options than ever to run Windows. So take advantage of these innovations to use Windows your way, natively or virtually, without being limited by Boot Camp.