Gaming computers place heavy demands on components like the CPU and GPU. All that graphical processing power can generate a lot of heat. Without proper cooling, high temperatures can throttle performance or even damage hardware.
This guide will cover everything you need to know about gaming coolers – from how they work to different types and installation. You’ll learn when you need a cooler, how to choose the right one, plus tips for trouble-free operation. Let’s dive in!
What is a Gaming Cooler?
A gaming cooler is a cooling system that removes heat from computer components during intense gaming sessions. It allows your CPU and GPU to run safely at higher temperatures required for optimal performance.
There are two main types of gaming coolers:
- Air coolers use fans and heatsinks to displace heat into the air. Air is blown over fins to absorb and dissipate thermal energy.
- Liquid coolers utilize a liquid coolant pumped through a sealed system over hot components. The liquid absorbs heat which radiators and fans then exhaust.
Both cooling methods are far more effective than basic air cooling with just case fans. Gaming coolers also operate much quieter by optimizing fan speeds based on temperatures.
Why Are Gaming Coolers Important?
There are several key reasons why installing a dedicated gaming cooler is recommended:
Increased Performance
Gaming coolers allow your CPU and GPU to sustain higher stable clock speeds without overheating or throttling. This directly translates to higher framerates and smoother gameplay.
Reduced Noise
Stock CPU and GPU fans ramp up speed dramatically when temperatures rise, creating noise. Gaming coolers use larger, slower fans for quieter operation at any load.
Longer Lifespan
Excessive heat degrades silicon and other hardware over time. Gaming coolers extend the functional lifespan of expensive components by keeping temperatures in a safe range.
Ultimately, a good gaming cooler unleashes the full potential of your PC hardware for cooler, faster, and more reliable gaming.
When Do You Need a Gaming Cooler?
While ideal for any gaming PC, the following situations make a gaming cooler especially recommended:
- Overclocking – When manually overclocking your CPU or GPU, extra cooling is essential for stability and preventing crashes.
- Powerful components – High-end CPUs and the latest GPUs run hotter and benefit greatly from improved cooling.
- Compact case – Smaller cases with less airflow require efficient gaming coolers to combat heat buildup.
- Hot climate – PCs in hot ambient environments are prone to thermal throttling without proper cooling.
- Long sessions – Gaming marathons of 5+ hours stress components more, making coolers mandatory.
- Demanding games – Graphics-intensive modern games like Cyberpunk 2077 require the best cooling you can provide.
If you game casually on a basic PC, stock cooling may suffice. But for peak gaming performance, longevity, and stability, upgrading to a high-end gaming cooler is highly recommended.
Different Types of Gaming Coolers
There are three primary categories of gaming coolers to consider:
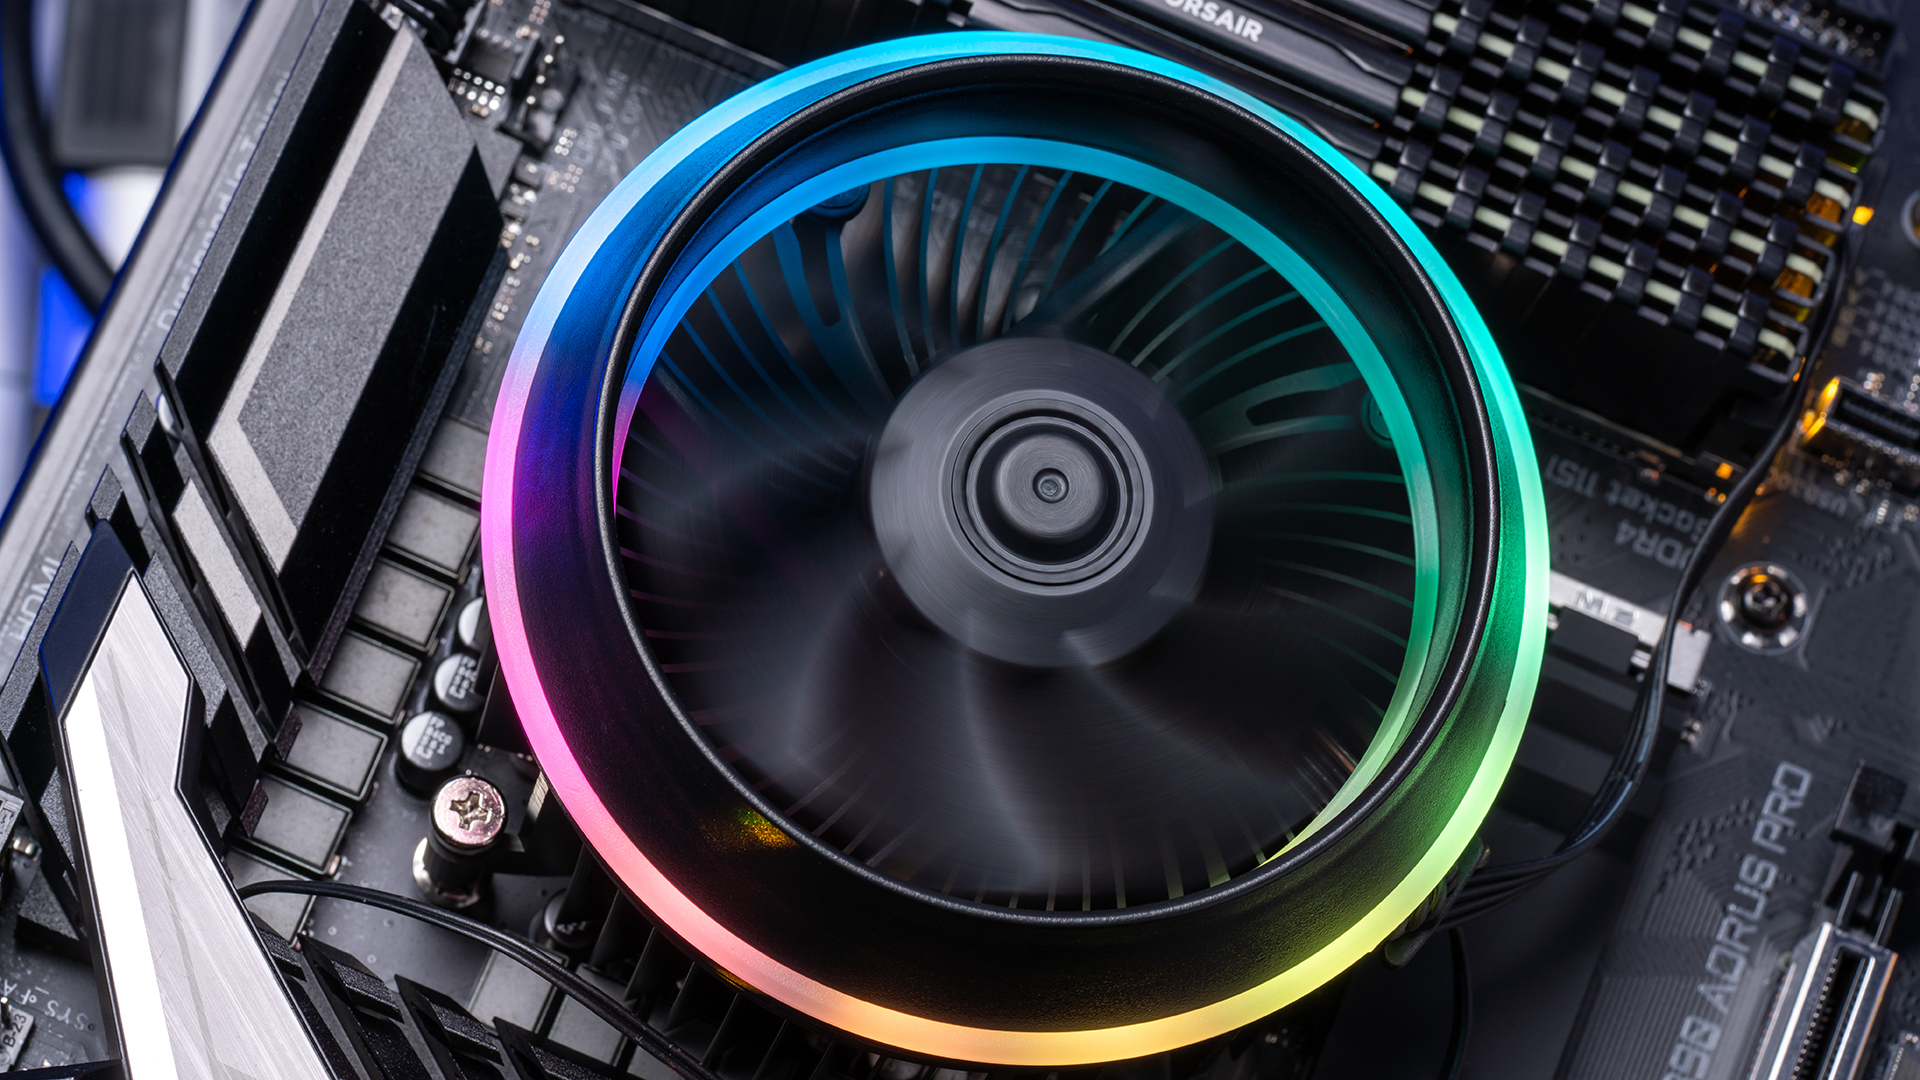
Air Coolers
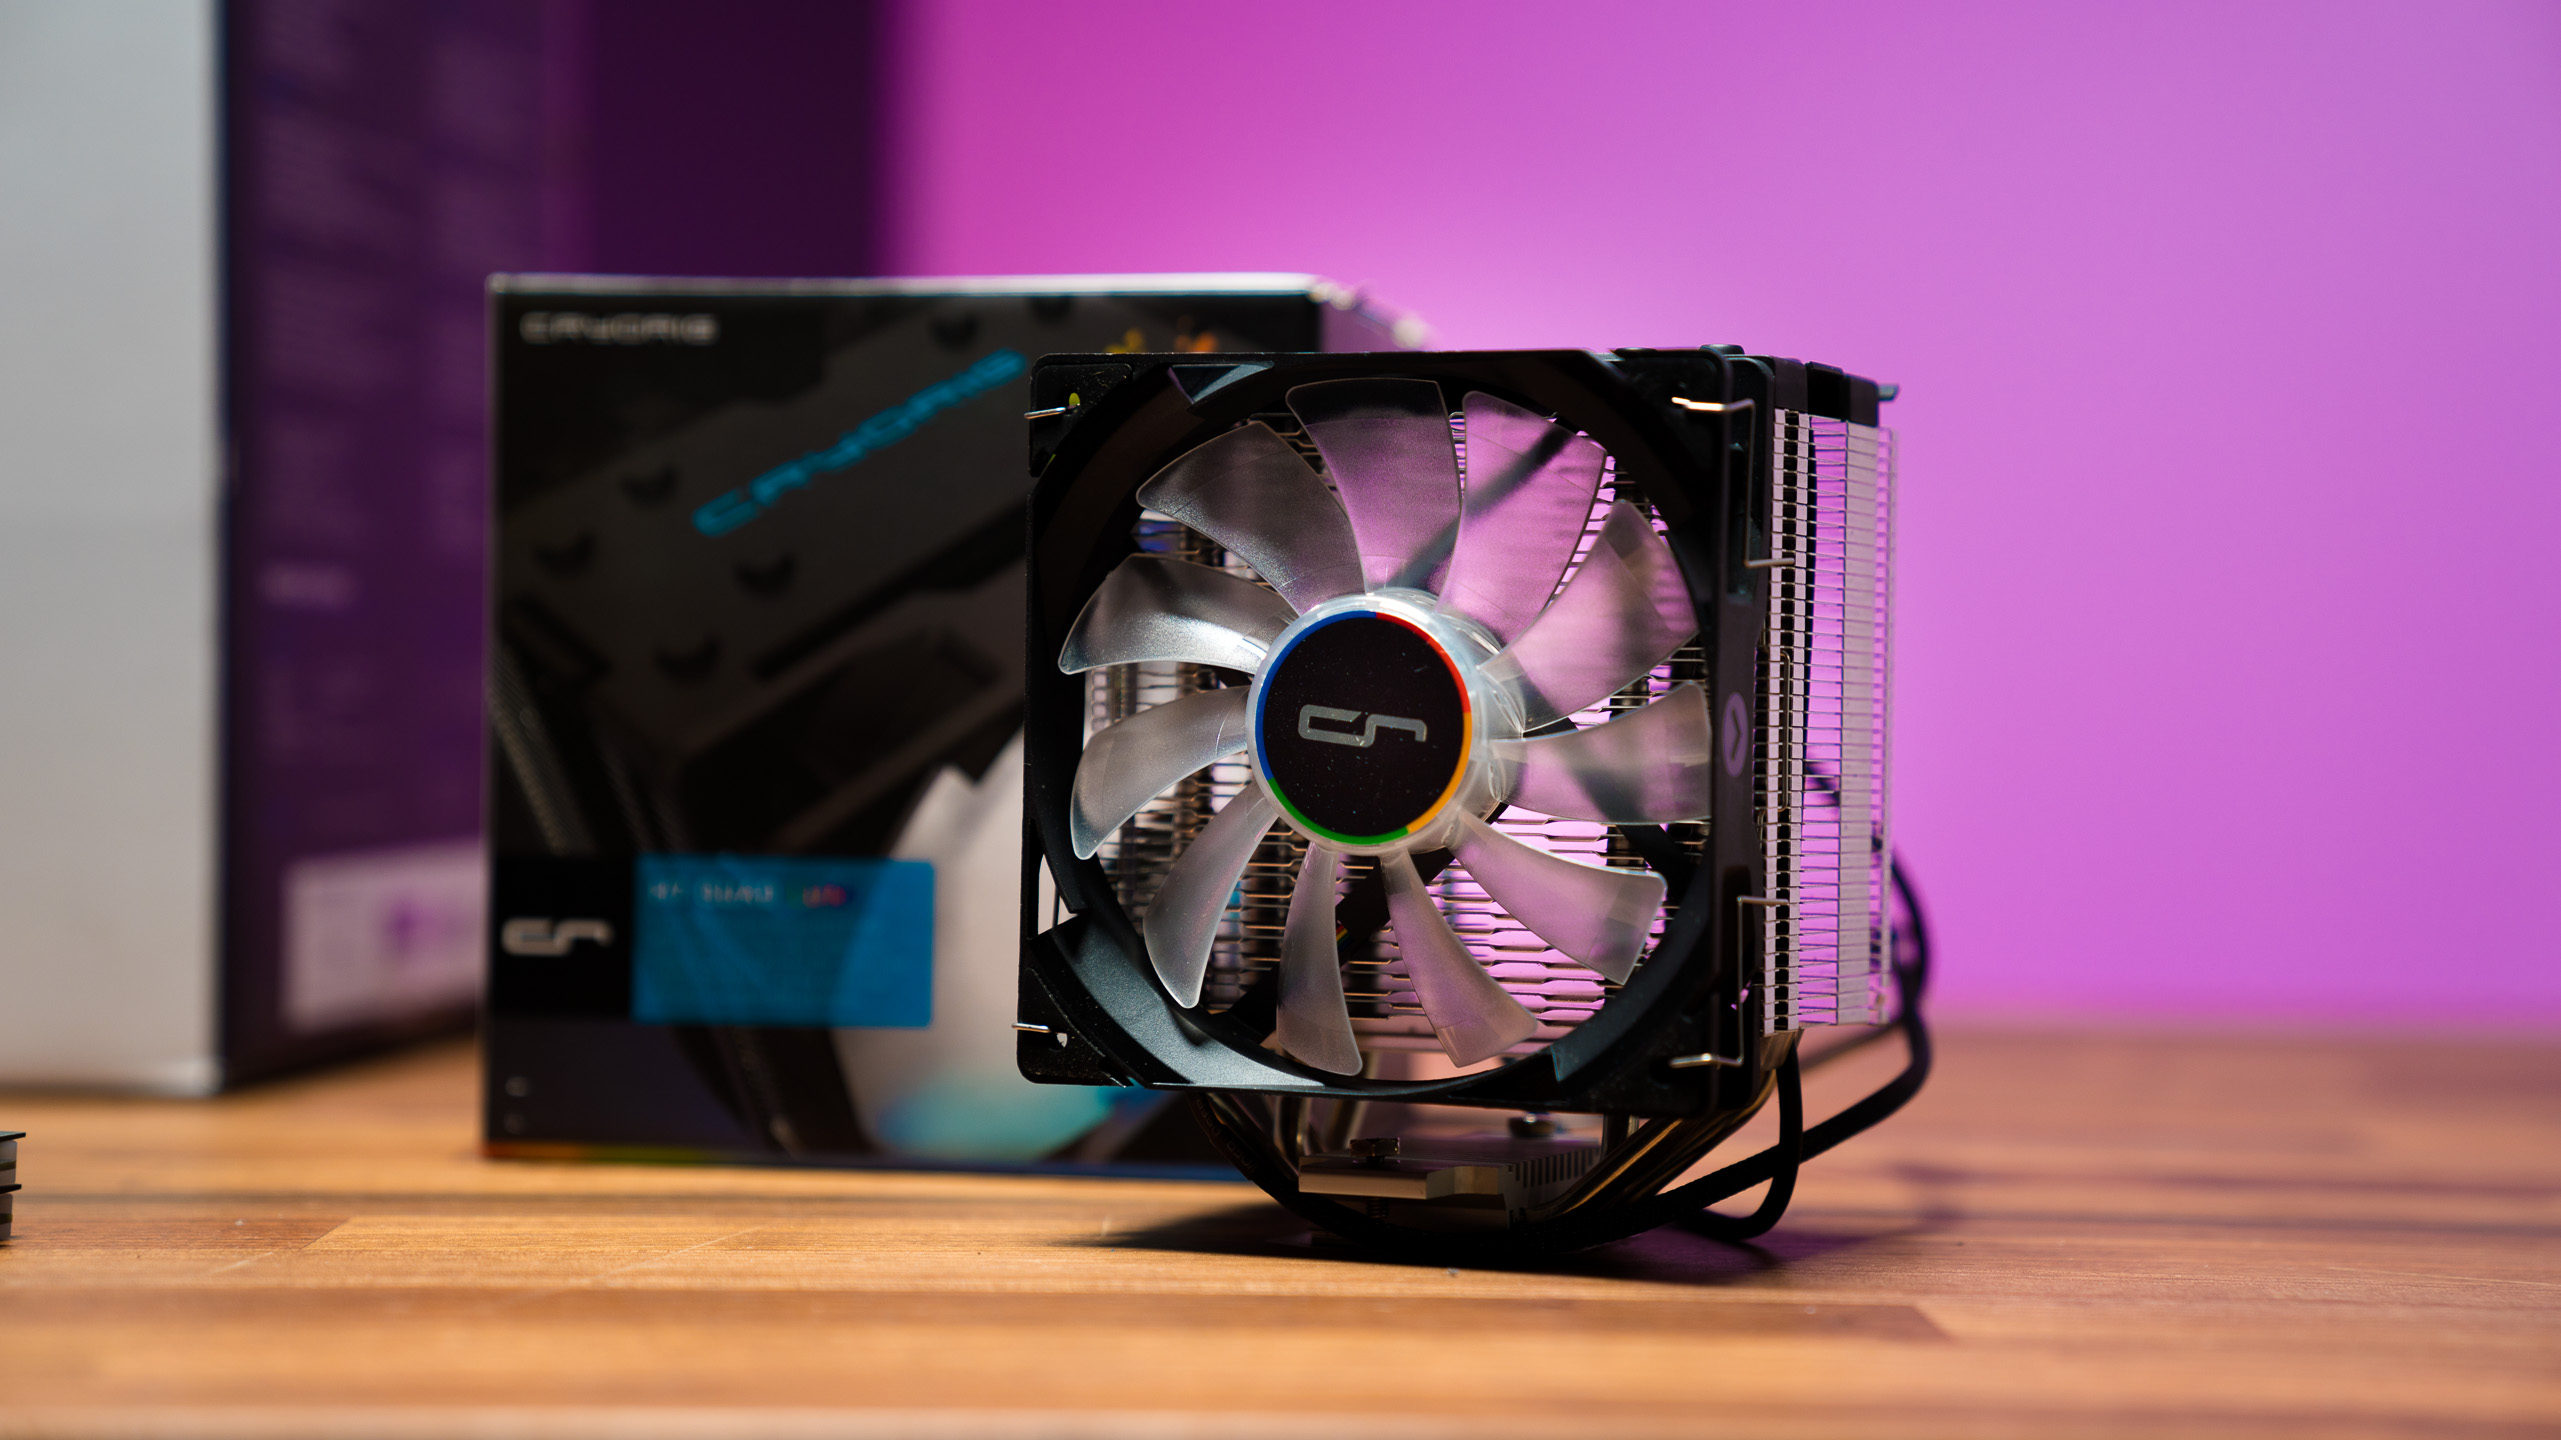
Air coolers are the most common and affordable type of CPU/GPU cooler. They utilize direct contact with hot components along with heatpipes and aluminum fins to dissipate heat into the surrounding air.
Powerful fans direct airflow over the fins. The right fan size, shape, and RPM are critical for balancing cooling capacity and noise. Most air coolers use 120-140mm fans.
Leading air cooler brands include Noctua, be quiet!, Cooler Master, and CRYORIG. Prices range from $20 up to $100+.
Pros
- Cost effective cooling
- Simple installation
- Great performance if properly sized
Cons
- Large coolers can cause clearance issues
- Liquid solutions outperform top-end air cooling
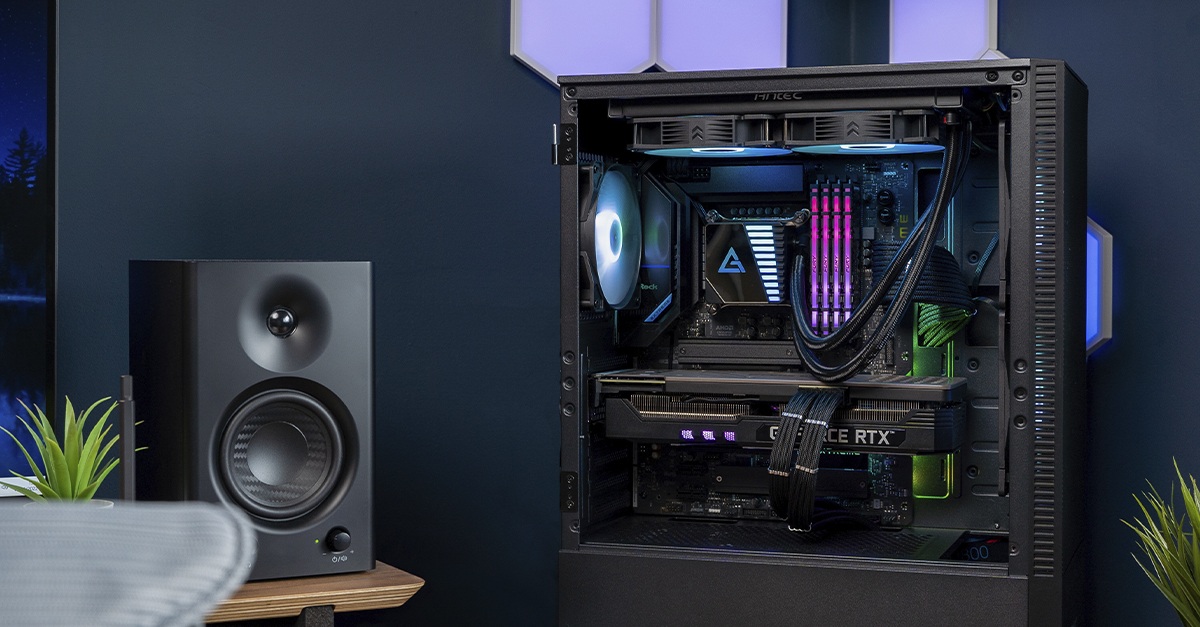
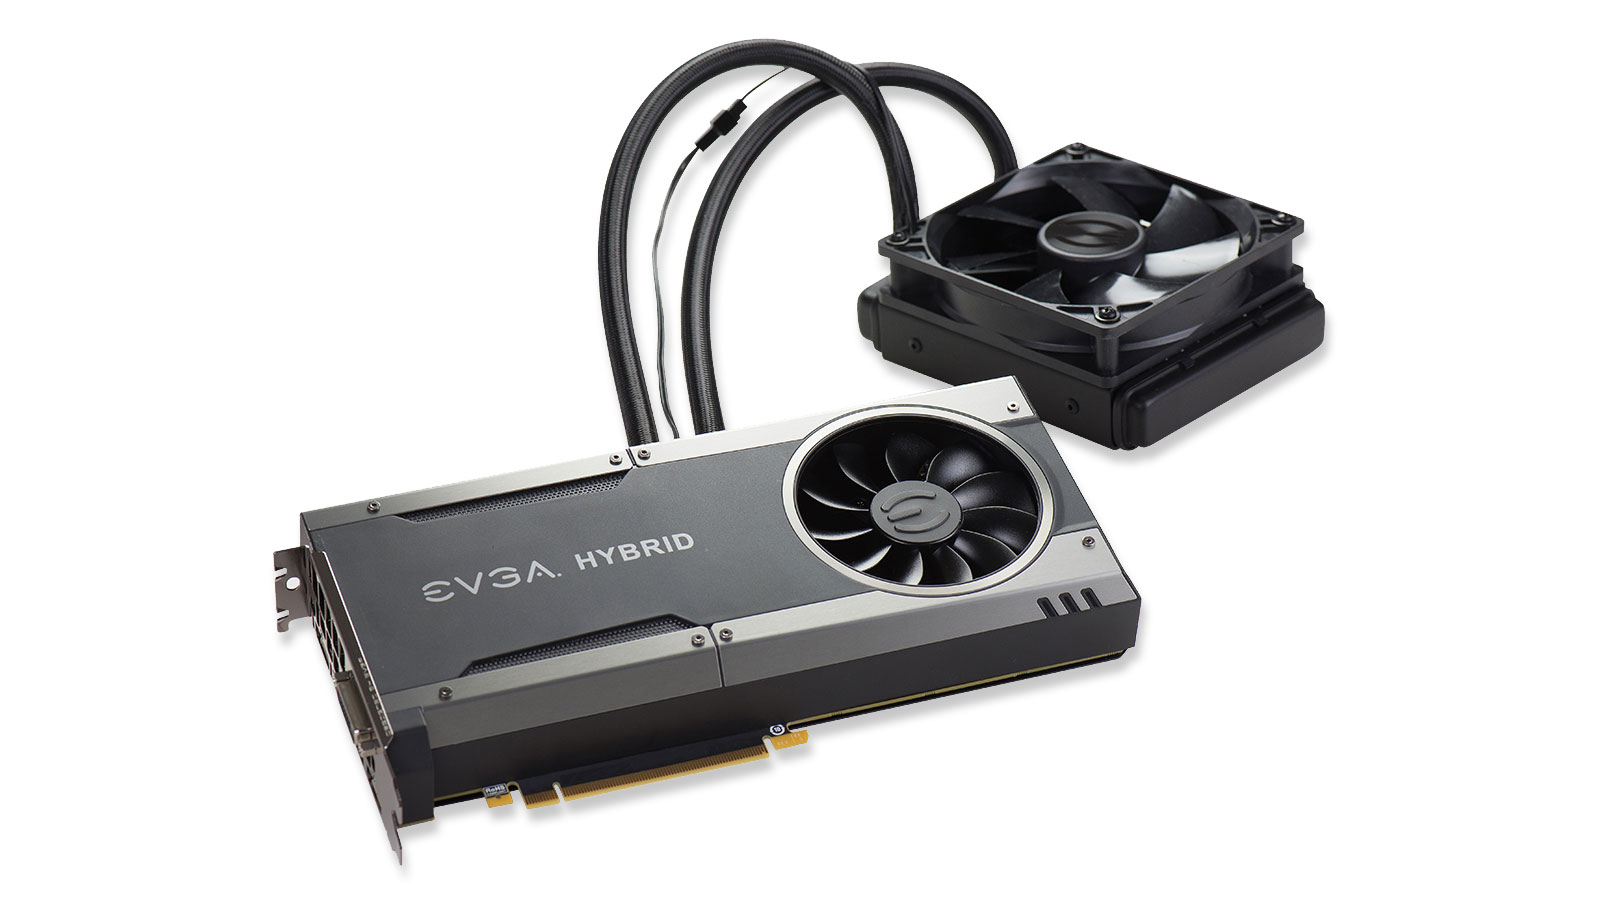
Liquid (AIO) Coolers

All-in-one or AIO liquid coolers are closed loop systems with liquid pumped actively over hot components. This allows efficient heat transfer to radiators for dissipation.
AIO coolers require minimal maintenance and have no risk of leaks like custom water cooling loops. Hoses connect the CPU/GPU block to 120-360mm radiators with attached fans.
Top brands are Corsair, NZXT, EVGA, Cooler Master, and Deepcool. Expect costs from $80-$150+ for AIO coolers.
Pros
- Excellent performance, especially on GPUs
- Compact and install almost anywhere
- Quieter operation than air coolers
Cons
- More expensive than air cooling -Possibility of pump failures over time
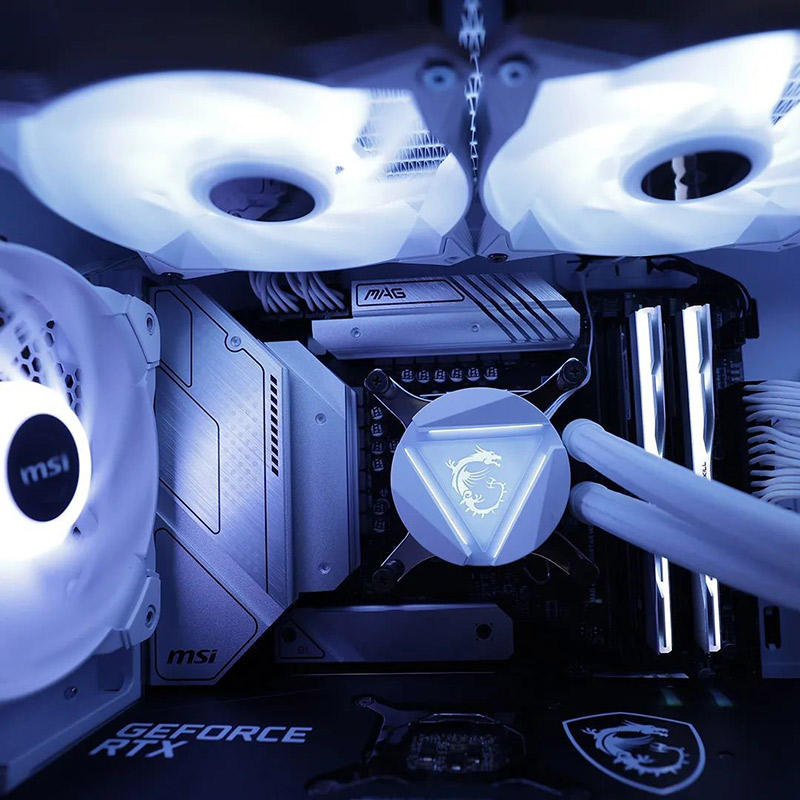
Hybrid Coolers
Hybrid coolers combine aspects of air and liquid cooling for flexible performance. A fan blows air over a radiator cooled by a liquid loop.
They act as all-in-one liquid coolers but don’t require hoses. Hybrids mount directly onto the motherboard like air coolers. Costs are between air and liquid coolers.
Aerocool, Raijintek, and Cooler Master offer reputable hybrid coolers starting around $70.
Pros
- Balanced cost vs performance
- Liquid cooling capacity in air form factor
Cons
- Not as powerful as premium air or liquid coolers
- Limited model availability
Consider noise levels, performance, size, and budget when choosing between these gaming cooler types. Let’s look at how to select the best option for your specific build.
How to Choose the Right Gaming Cooler
Follow these tips for picking optimal gaming cooling for your needs and setup:
Consider Your Budget
Premium gaming coolers provide the best performance but cost more. There are also quality budget options under $50. Set a cooler budget to narrow choices.
Consider Components Cooled
If cooling only a CPU, a basic $30 air cooler suffices. Adding GPU cooling requires a more powerful $70+ liquid AIO solution.
Consider Case Size
Measure inside your PC case for clearance. Compact cases often require low-profile air coolers under 155mm tall.
Check Socket Compatibility
Ensure any air coolers or AIO CPU blocks match your Intel LGA or AMD AM4 socket.
Prioritize Noise Levels
If you want whisper-quiet operation, seek out coolers with max 20-30 dBA noise ratings like the be quiet! Dark Rock Pro 4.
Read Gaming Cooler Reviews
Research performance results and noise testing of specifc models from sites like Tom’s Hardware and GamersNexus to make informed choices.
Consider Aesthetics
Many coolers feature customizable RGB lighting and colors to match your build’s theme.
With your needs in mind, compare specs and reviews of specific models within your budget to select the ideal gaming cooler.
Benefits of Using a Gaming Cooler
Installing a proper gaming-grade CPU/GPU cooler provides noticeable benefits:
- Cooler operation – Gaming coolers keep temperatures 20-30°C lower than stock cooling. This prevents thermal throttling.
- Higher clock speeds – Excellent cooling enables reaching higher stable CPU/GPU clock speeds, boosting fps.
- Enables overclocking – With the temperature headroom gaming coolers provide, you can push overclocks higher.
- Quieter gaming – Gaming coolers decimate noisy stock fans, reducing noise by 40% or more.
- Longevity – Keeping temperatures low reduces electromigration and extends the usable lifespan of chips.
- Better stability – Adequate cooling prevents crashes and freezes during heavy gaming.
- Cleaner build – Aftermarket coolers declutter cases by replacing messy stock fans and coolers.
For just $50-$150, a new high-performance gaming cooler can take your computer to the next level both visually and performance-wise. It’s a smart investment for any gaming PC.
Conclusion
Installing an upgraded CPU and/or GPU cooler optimized for gaming provides cooler, faster, and more reliable performance. While not essential in basic rigs, gaming coolers become mandatory if overclocking, using compact cases, running hot hardware, or gaming for long periods.
Carefully consider your case size, components, noise tolerance, and budget when selecting a gaming cooler. Leading air and all-in-one liquid options from trusted brands like Noctua, Corsair, EVGA, and others provide the ideal cooling for any modern gaming PC.
Air Cooler vs Liquid Cooler Comparison
Air Coolers
- Less expensive ($30-$100)
- Simpler to install
- Large coolers can cause space issues
- Good for mild CPU overclocking
- Airflow dependent so case fan setup matters
Liquid AIO Coolers
- Cost more ($80-$150+)
- Require correct mounting pressure
- Compact and install almost anywhere
- Ideal for extreme CPU and GPU cooling
- Not airflow dependent
- Small risk of leaks over time
For moderate CPU overclocking, quality air coolers offer the best value. But liquid AIOs dominate for cooling highly overclocked CPUs and hot GPUs.
Gaming Cooler Installation Guide
Installing most gaming air or liquid AIO coolers follows similar steps:
- Remove existing CPU cooler and clean old thermal paste off CPU.
- Unpack new cooler and verify contents – mounting bracket, backplate, fans, radiator, screws, thermal paste.
- Attach mounting posts or backplate to the motherboard CPU socket.
- Apply fresh thermal paste to CPU in small dot or line pattern.
- Mount cooler block/cold plate onto CPU and secure tightly with screws in cross pattern.
- Install radiator and fans in case. Connect fan power cables to motherboard headers.
- For liquid AIOs, fill cooler/radiator with distilled water and attach hoses.
- Boot into BIOS and ensure cooler fans are detected and ramp up/down with CPU temperature changes.
Refer to your specific cooler model’s manual for full installation instructions. With the right gaming cooler properly installed, you’re ready to game harder and faster!
Troubleshooting Common Gaming Cooler Problems
Gaming coolers are generally reliable, but issues can occasionally arise:
Overheating
- Ensure even pressure between cooler and CPU. Re-mount if needed.
- Add more thermal paste for better heat transfer if temperatures are still high.
- Check fans spin properly. Connect to different motherboard headers if not working.
Noise
- Adjust fan profiles in BIOS for smoother, quieter ramping.
- Clean fan blades and bearing of buildup using compressed air.
- Replace aging or defective fans with the same specifications.
Pump failures
- Shake hoses with power off to check for liquid movement. No movement indicates pump failure.
- Double check power connector to pump is securely plugged in.
- Contact manufacturer to request replacement pump under warranty.
Following best practices for installation, maintenance, and cleaning will maximize the lifespan and performance of your gaming cooler.
Recommendations for the Best Gaming Coolers
Based on expert reviews and real-world testing, these gaming coolers deliver the best combinations of cooling, noise levels, and value:
Air Coolers
- Noctua NH-D15 – Unrivaled cooling, very quiet
- be quiet! Dark Rock Pro 4 – Near silent operation
- Cooler Master Hyper 212 – Budget pick under $50
Liquid AIO Coolers
- Corsair H150i Elite – Top cooling capacity
- NZXT Kraken X73 – RGB lighting and cooling
- EVGA CLC 280 – Excellent value under $130
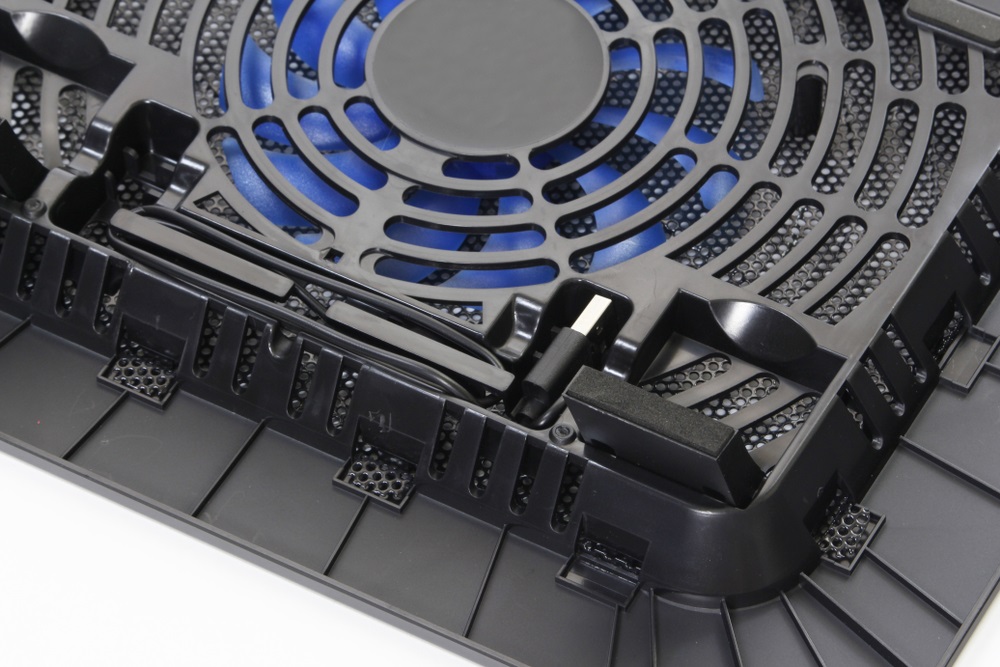
Laptop Cooling Pads
- Havit HV-F2056 – Quiet and adjustable
- Thermaltake Massive 23 – Powerful 10-fan array
Research the latest reviews before purchase, as new and improved models are frequently released. With the right gaming cooler, you can’t go wrong keeping your precious components chill!