How to set up Emulator on iPhone
People don’t need emulators now since they can simply transfer their Android or iPhone to an emulator with just a few clicks. To get an emulator on your iPhone, you just need to surf some apps on your browser and follow the steps to enjoy the console-like gaming experience on your iPhone.
Emulators are like magic portions that give you a simulation of other devices with identical software and hardware, and you don’t need a lot of modifications for it; it will help. A lot if you are a gamer or a developer since you can use this with IDE to test your apps and play emulator games on your iPhone.
There are many benefits of using an emulator on an iPhone without jailbreaking it, and everything is free; further, we will discuss the steps to get an emulator on an iOS device.
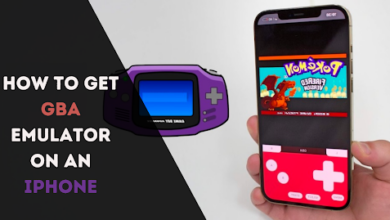
STEP 1: Get the emulator for your Android according to your iOS version; you can simply browse your Safari about emulators and download the emulator for iOS from them. After downloading and installing it, it will appear in the widget on your home screen.
- There will be outdated emulators on the internet, so choose the updated one.
- Select the ROMs that fit under the criteria of your iOS version.
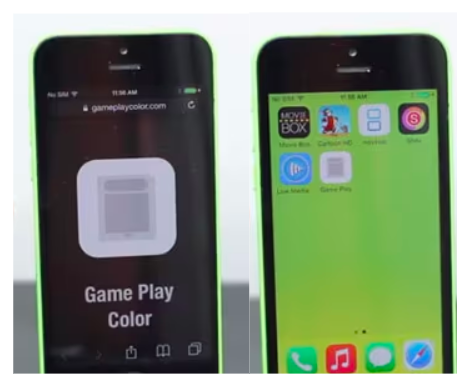
STEP 2: Open the iOS emulator present on your home screen and check if it’s running smoothly without errors. Check if it’s installed successfully.
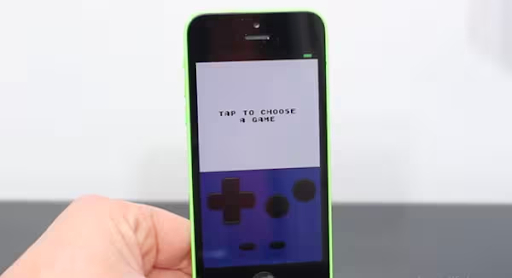
STEP 3: Now log in to your original Google account; remember, it is the most crucial step since you need to log in with the account you use for your primary purposes. Further, you must upload games to the drive with the same Google account you log in to within the iOS emulator.
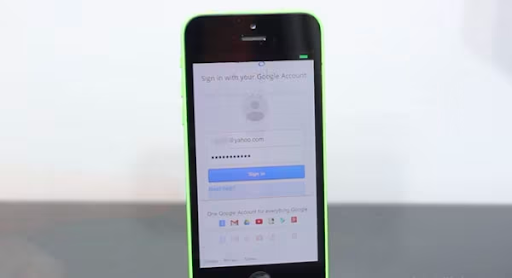
STEP 4: You will be redirected to your Google Drive; if you do not have any game uploaded there, you will see an empty screen.
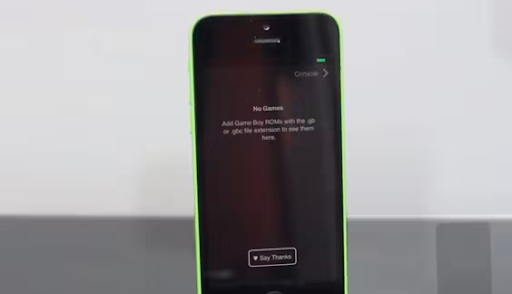
STEP 5: To enjoy the games on your iOS emulator, just download the games you want to play from your favourite browser and upload them to Google Drive. Please use your Mac or Windows PC to do so. It will be a fast method to upload your games.
- Remember to upload games to your primary Google account you used to log into the iOS emulator. Upload your game files. As you can see in the above image, I’ve uploaded the Pokemon games file to my Google Drive.
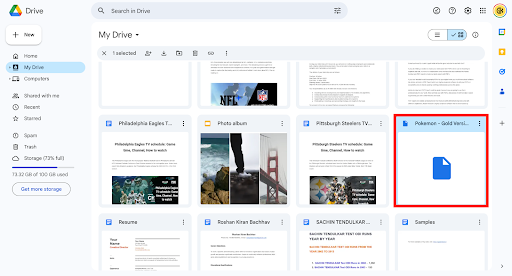
STEP 6: Now, go back to your iPhone emulator app on your iOS and see that the game will appear in the emulator you uploaded in Google Drive.
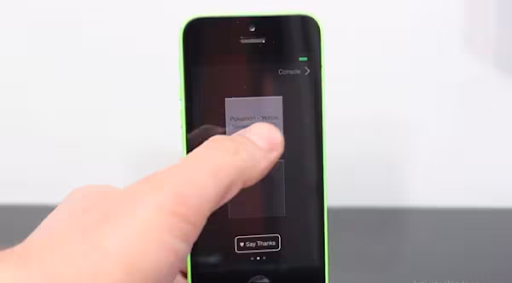
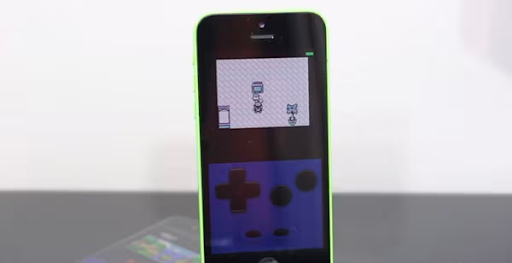
STEP 7: Here, your wait is over! Click on the game and enjoy playing it.
Final Words
Playing emulators on iPhone is fun, and optimisation is fundamental; there are advancements in emulators to give you a similar, more realistic gaming experience, and you can also use your iOS emulator for multiple purposes like app development testing and a lot more.
Various better emulator apps are available to level up your skills emulating on iPhones. You can avail yourself of the best emulators for iOS online just by surfing; that’s it for now. Enjoy your games.
FAQs
- Which are the best iOS emulators?
There are hundreds of iOS emulators are available online, but according to our research, the best iOS emulators are:
- NDS4iOS
- GBA4iOS
- iNDS
- Which are the best Android emulators?
There are various emulators available on the internet, including Dolphin emulator, ePSXe, Citra, Yuzu, and Nox Player, which are the best among them.
- Which are the best emulators for Windows & Mac?
The best emulators for Windows and Mac are Smartface, Xamarin Testfight, iPadian, MobiOne Studio, etc.
- Are iPhone emulators safe?
Many iPhone emulators offer a safe and secure environment to test the apps and play games. Most applications have built-in security packages to detect harmful malware.
- Can I get an emulator on Linux/Ubuntu?
Yes, there are hundreds of emulators available for Linux/Ubuntu. The best Android emulators for Ubuntu/Linux are Android Studio, Genymotion, Testsigma, Arc Welder, etc.
